
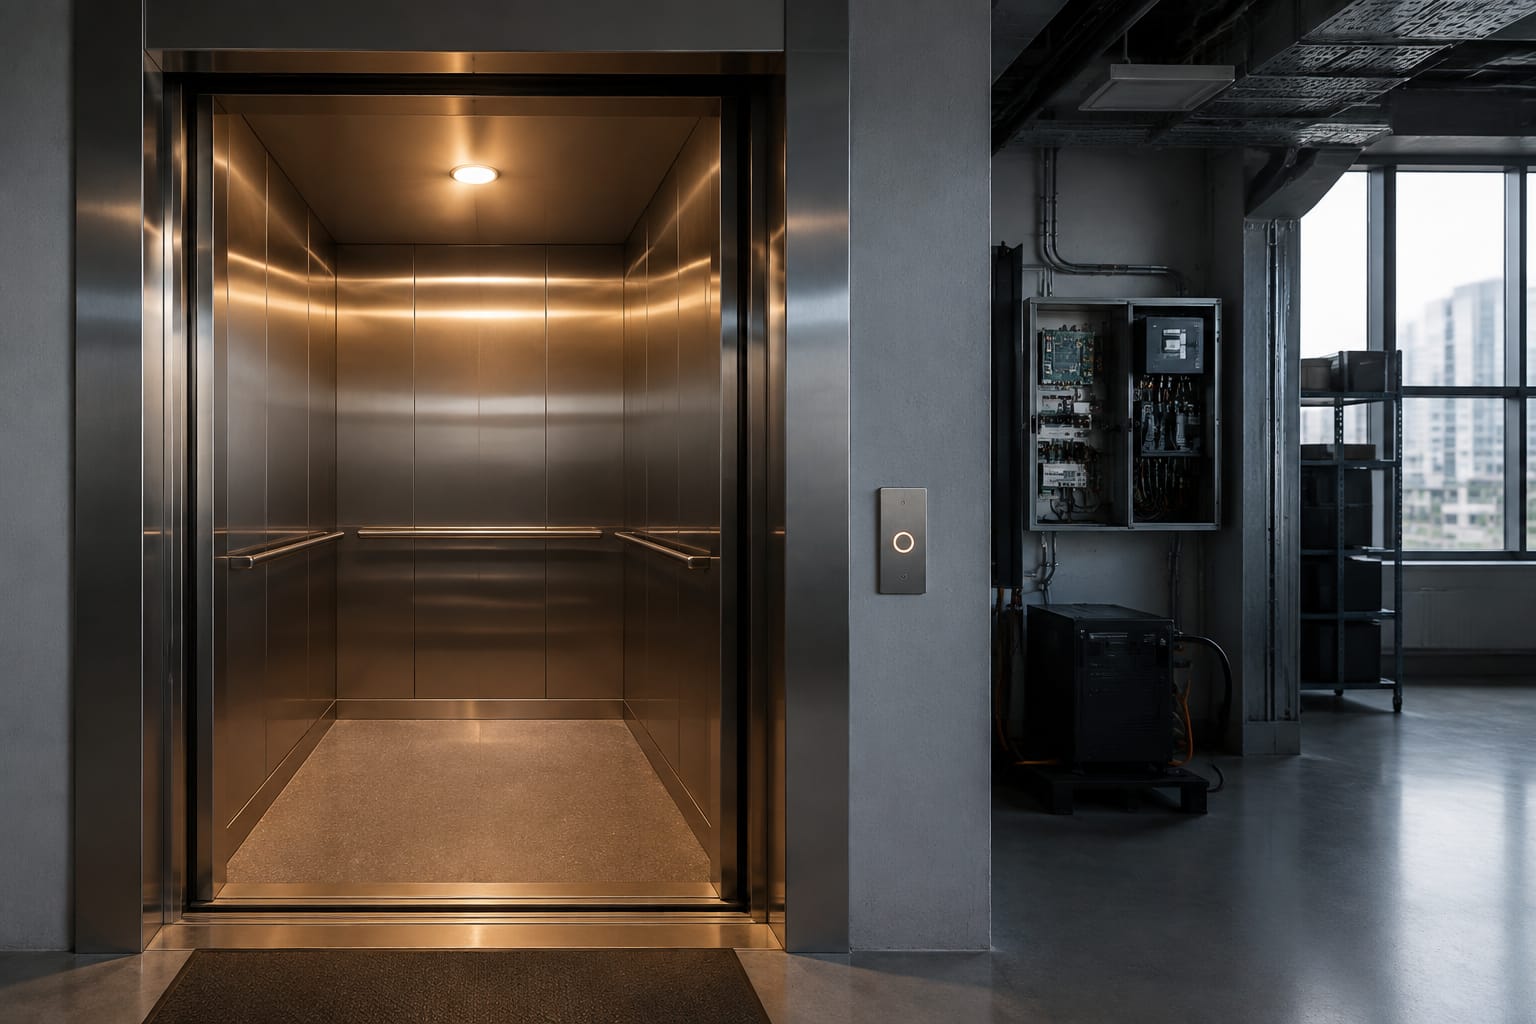
An elevator emergency light must illuminate the car when the normal supply fails, giving passengers enough visibility to remain calm and use the alarm or communication equipment where fitted. It relies on a charged battery and a compatible emergency power supply, so a lamp that works during normal operation is not proof that the emergency system will work during an outage.
For South African maintenance teams, power interruptions make routine functional testing especially important. Diagnose the system as a complete circuit: confirm the incoming supply and charger, battery condition, emergency output voltage, light unit, connectors and wiring. Replace only the component shown to be faulty, and verify the repaired system under simulated loss of normal power.
Purpose of elevator emergency lighting
Emergency lighting provides temporary illumination inside the elevator car when the normal lighting circuit loses power. It is a separate safety function from the main car light fitting, although one fitting may contain both normal and emergency light sources.
Its practical purposes are to:
- Make the car interior visible during a power interruption.
- Help passengers locate the alarm button, intercom or emergency telephone.
- Reduce panic while the lift is stopped or being recovered.
- Support safe communication and evacuation procedures directed by trained personnel.
Emergency lighting is not intended to make a trapped lift car safe to exit without proper rescue procedures. Passengers should not force doors open or climb out of the car. The lighting system is there to provide short-term visibility while the building's lift emergency process is followed.
The exact required duration, test method and equipment arrangement depend on the lift installation, applicable standards, building requirements and maintenance contract. Maintenance contractors should therefore work from the lift documentation and the applicable local requirements, rather than assuming every battery-backed light has the same duty time.
Light units, batteries, and power supplies
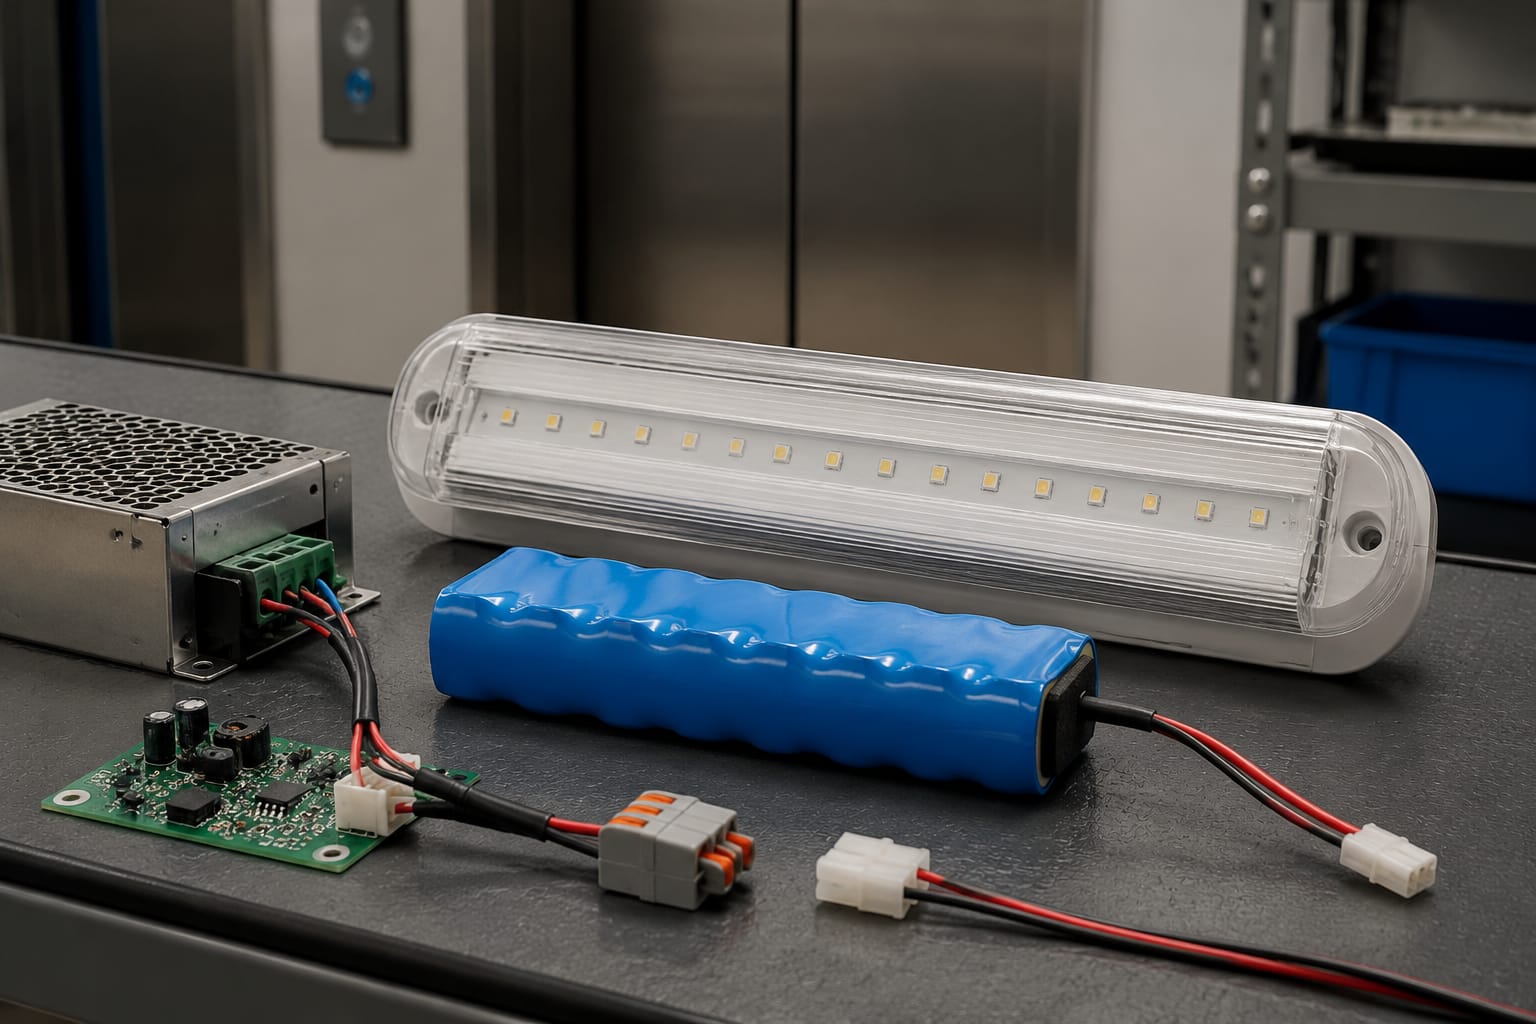
An elevator emergency light system generally has three main elements: the light unit, a rechargeable battery, and a charger or emergency lighting power supply. A fault in any one can leave the car dark when normal power is removed.
| Component | Main function | Typical fault signs | Checks before replacement |
|---|---|---|---|
| Emergency light unit | Produces light from the emergency supply | No light, dim output, flickering, damaged lens | Rated voltage, lamp or LED type, connector, mounting size and polarity |
| Rechargeable battery | Stores energy for operation during loss of mains supply | Short run time, swelling, leakage, low voltage after charge | Chemistry, nominal voltage, capacity, terminal type, physical size and charging compatibility |
| Emergency power supply | Charges the battery and changes over to battery output when normal supply fails | Battery does not charge, no emergency output, overheating, intermittent changeover | Input supply, output voltage, charging parameters, connector layout and installation space |
| Wiring and connectors | Carries charge and emergency power | Intermittent light, heat marks, loose plugs, corrosion | Continuity, polarity, pin order, insulation condition and secure terminations |
The emergency light unit
Older cars may use a dedicated lamp assembly, while newer installations often use LED modules. LEDs usually draw less current, but they still need the correct DC voltage and polarity. An LED module connected to an unsuitable supply may not operate, may be overly dim, or may be damaged.
When sourcing a replacement, identify whether the listed voltage refers to the supply entering the light, the battery voltage, or an internal driver requirement. These are not automatically the same.
For example, a contractor replacing a car fitting can compare connector and mounting details alongside the electrical rating. Kelevator lists a DC 12 V Otis car emergency-lighting part for buyers who need to check a product-specific configuration against the original component. Compatibility must still be confirmed from the part number, lift documentation and physical installation.
The battery
The battery holds stored energy while normal power is available. The charger keeps it ready, and the emergency circuit uses that stored energy after a power loss.
Battery failure is common because batteries age even when the lift appears to operate normally. A battery may show a reasonable open-circuit voltage but collapse under the load of the emergency light. Visual inspection also matters: swelling, corrosion, leaking electrolyte, damaged leads or heat damage are reasons to remove the battery from service according to the site's safe handling process.
Do not substitute a battery simply because it fits in the enclosure. Confirm:
- Nominal voltage.
- Battery chemistry specified by the equipment maker.
- Capacity and expected emergency-light load.
- Terminal style, lead polarity and connector.
- Charger compatibility.
- Space, mounting and temperature conditions.
A higher-capacity battery may be physically larger or may need a charging profile the existing unit cannot provide. A different chemistry can be unsafe or substantially shorten service life.
The charger and emergency power supply
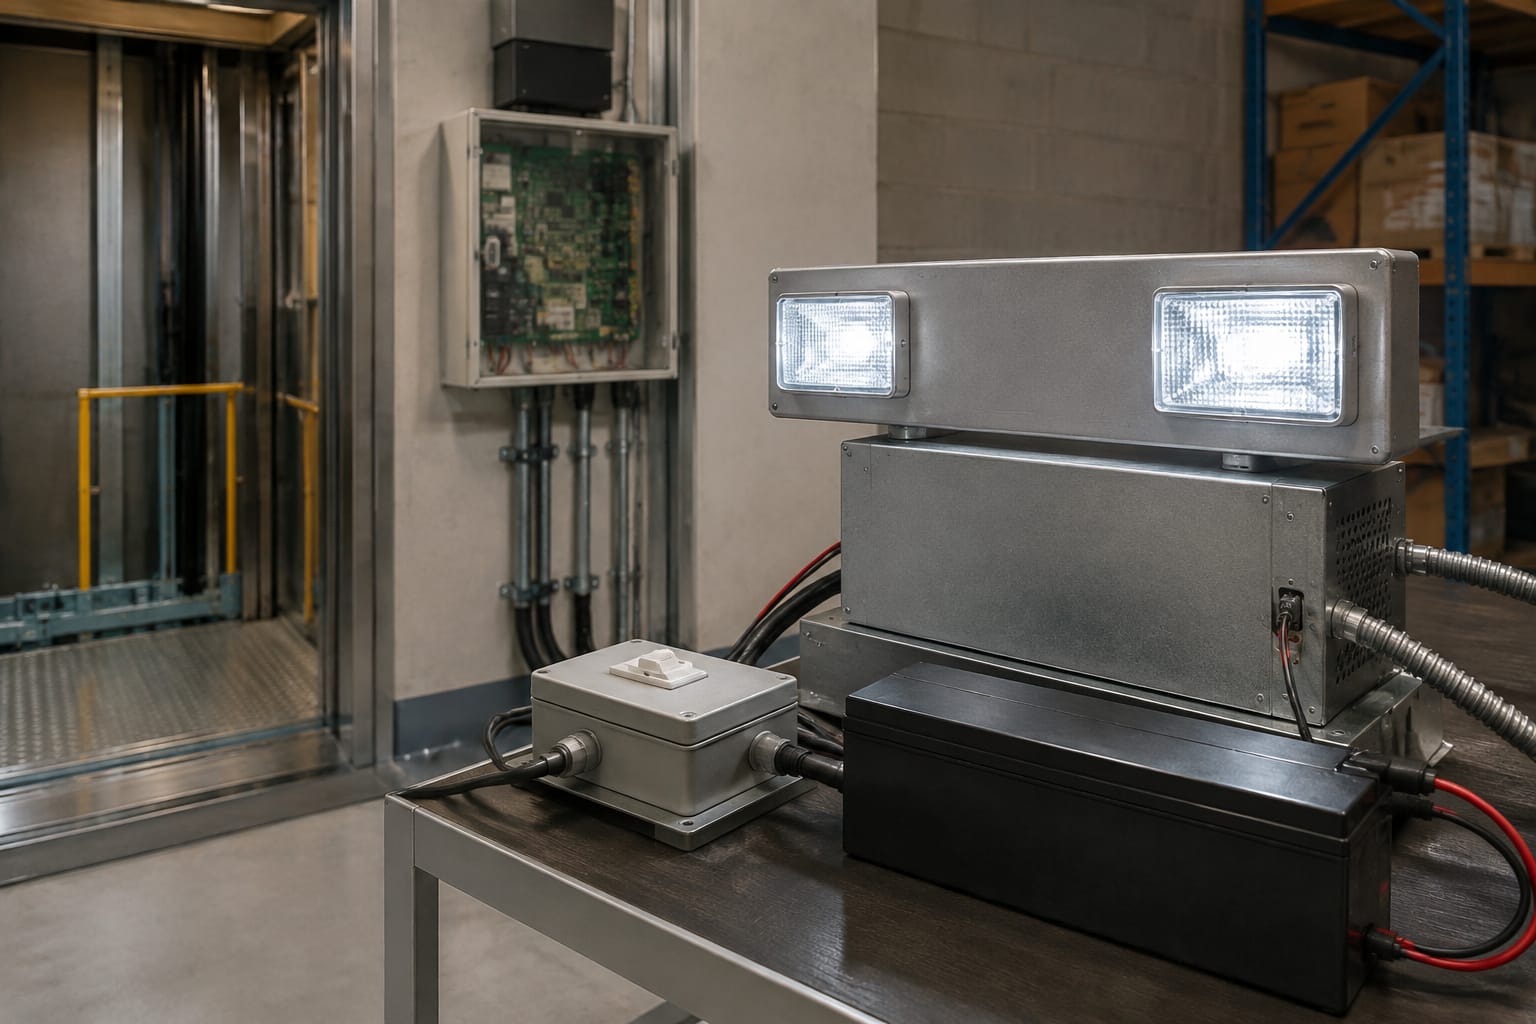
The power supply takes normal input power, charges the battery and changes the lighting circuit to battery operation if normal supply is lost. Some designs are a dedicated module; others form part of a wider car-top, car-lighting or controller arrangement.
A replacement must match more than the output label. Confirm the input voltage and frequency, DC output voltage, rated load, charge output, battery type, terminal arrangement, dimensions, mounting method and any system-specific plugs or harnesses. A similarly rated generic unit can be electrically unsuitable if its charging or changeover behaviour differs from the original design.
Where the original unit is identified as an accessory power supply, compare its identifiers against a relevant emergency-lighting power supply for elevator accessories rather than selecting by appearance alone.
Normal and emergency operating modes
During normal operation, the emergency power supply receives its normal input and maintains the battery charge. Depending on the design, the emergency lamp may be off, may be part of the ordinary car lighting, or may be held in a standby arrangement.
When normal supply is removed, the system should change over automatically. The emergency light should illuminate from the battery without needing a passenger action or a manual reset. When the normal supply returns, the system should return to its charging state.
A proper test observes both states:
- Establish that normal supply and car lighting are present.
- Confirm that the battery is connected, undamaged and has had adequate time to charge.
- Simulate loss of the relevant normal supply using the approved isolation or test process.
- Confirm emergency illumination appears promptly.
- Keep the system in emergency mode for the required test period, where authorised.
- Restore normal supply and confirm the charger resumes operation.
- Record the test result, findings, parts used and any follow-up action.
Avoid testing by disconnecting random plugs inside a live car or controller. Incorrect isolation can create additional faults, defeat other safety circuits or expose personnel to electrical hazards. Use the equipment documentation and site procedures, and ensure only competent lift personnel undertake electrical diagnosis and repair.
Common emergency-light faults
Most failures fall into a small number of categories. The symptom is useful, but it should not be treated as a diagnosis by itself.
Light does not come on during a power interruption
Likely causes include a discharged or failed battery, failed emergency power supply, blown protection device, open connection, incorrect polarity, faulty light module or a changeover circuit that is not switching.
Start by checking whether the emergency supply has normal input power and whether the battery is connected. Then measure the battery and emergency output under the appropriate conditions. If voltage reaches the light unit but it remains dark, the unit or its local wiring becomes the primary suspect.
Light is dim or extinguishes quickly
This often indicates reduced battery capacity, although a high-resistance connection, unsuitable lamp load or a defective charger can cause the same result. A battery with an acceptable no-load reading may fail a duration test because it cannot sustain current.
Check the battery under load, not only at rest. Also inspect terminals for oxidation and heat discolouration, as these can restrict current flow.
Light flickers or works intermittently
Intermittent faults frequently come from loose connectors, fractured conductors near moving or vibrating areas, poor earth or negative return connections, moisture ingress, or a failing electronic module.
With power safely isolated where necessary, inspect harness routing, connector retention and terminal condition. Do not rely solely on wiggling wiring while circuits are energised. A controlled continuity check and visual inspection are more repeatable.
Battery will not charge
A non-charging battery can result from a failed charger, absent input power, damaged fuse, broken wiring, poor battery terminals or a battery that no longer accepts charge. Verify the charger input before replacing the battery. Repeated battery replacements without checking the charger usually leave the root cause unresolved.
The emergency lamp stays on with normal power restored
This can point to a failed changeover relay or electronic switching circuit, incorrect wiring after repair, a missing normal supply sense input, or a control fault. Continuous battery discharge may leave the car without emergency lighting at the next outage, so this condition needs attention even if the lamp is illuminated.
Check voltage, battery, and wiring
A structured inspection reduces unnecessary parts replacement. Before any measurements, identify the circuit from the wiring diagram or original component labels. Confirm meter category, expected voltage range and safe test points. Isolate circuits before resistance, continuity or connector inspections.
A practical diagnostic sequence
- Inspect first. Check for loose plugs, damaged insulation, corroded terminals, liquid ingress, heat marks, swollen batteries and incorrect previous repairs.
- Confirm the normal input. Measure the power supply input against the rating on the unit. No input means the charger cannot maintain the battery.
- Check the charging state. With normal power available, compare battery terminal voltage and charger output with the manufacturer's expected values. A measurement outside the expected range needs further investigation; it is not automatically a battery fault.
- Test emergency output. Using the approved failure simulation, check that the emergency supply delivers the correct output to the light circuit.
- Measure at the light unit. If output exists at the supply but not at the light, trace the wiring, plug connections and any inline protection.
- Assess battery performance under load. Observe voltage and lighting performance during the required emergency-mode test. A sharp voltage fall suggests inadequate battery capacity or a connection problem.
- Restore and recheck. After testing, restore normal power and make sure charging recommences.
Record actual readings, terminal locations and test conditions. A note such as "battery low" is less useful than a record showing the battery voltage before and during the test, the charger state and the duration before light output dropped.
Do not short battery terminals to test them. A short circuit can cause burns, damaged wiring, battery rupture or electronic damage. Similarly, do not bypass a failed charger or connect an unverified external supply directly to the light circuit.
Match replacement power supplies
Selecting the correct replacement emergency power supply requires an electrical and mechanical comparison. The lift brand alone is not enough, as a manufacturer may use different modules across car types, generations and markets.
Use the original part number whenever available, then verify the following details before ordering:
| Selection criterion | Why it matters |
|---|---|
| Original part number and revision | Identifies the intended design and helps avoid visually similar but different modules |
| Input rating | Must suit the available supply and equipment configuration |
| Emergency output voltage and current | Must match the light circuit and expected load |
| Battery voltage and chemistry | Determines safe, effective charging and discharge behaviour |
| Connector type and pinout | Prevents reversed polarity, poor fitment and wiring modifications |
| Changeover behaviour | Ensures the light transfers correctly when normal power fails |
| Physical dimensions and mounting | Confirms installation in the existing enclosure or bracket |
| Environmental condition | Heat, moisture, dust and vibration can affect suitability and service life |
Do not increase the fuse rating to stop repeated blowing. A fuse operating repeatedly can indicate a short circuit, overloaded output, incorrect replacement part or damaged wiring. Find and correct the cause before restoring service.
For model-specific work, a Hitachi elevator emergency power supply is an example of why exact manufacturer and part identification matter. Verify the original label, connector arrangement and electrical characteristics before treating any listed part as interchangeable.
Kelevator supplies multi-brand elevator spare parts to B2B importers, distributors, maintenance contractors and OEM buyers. When requesting a part through a sourcing channel, providing clear photographs of labels, connector faces, terminal markings and the installed unit reduces the risk of an incompatible substitution.
Routine inspection and test intervals
Set inspection and test intervals according to the lift manufacturer's instructions, the maintenance agreement, site risk assessment and applicable requirements. Emergency lighting is a standby function, so it should be tested often enough to reveal battery deterioration before a real outage.
A practical programme commonly separates quick checks from longer functional tests:
- Routine maintenance visit: Inspect the light, lens, battery enclosure, cable condition and visible connections. Confirm no fault indication is present and check the system responds to the approved functional test.
- Periodic duration test: Run the emergency light from battery for the required period specified for the installation, observing output and battery behaviour.
- After a power event or electrical work: Check operation after supply disruptions, controller changes, car-lighting modifications, battery replacement or work near the emergency-light circuit.
- When a car returns to service after a fault: Complete a full operational check, including charging recovery.
The charging recovery period matters. Testing immediately after a long battery discharge may produce a misleading result because the battery has not had time to recharge. Record the date, test duration, result, battery condition, defects and corrective action so later technicians can identify declining performance.
Verify operation after repair
A repair is complete only once the system operates correctly in both normal and emergency modes. Replacing a lamp, battery or power supply without a functional changeover test leaves an important question unanswered.
Use this final verification checklist:
- Normal car lighting and normal supply are restored.
- The emergency light fitting is secure, clean and unobstructed.
- All battery terminals and plugs are correctly connected and protected.
- Cable routing is secure and cannot be pinched, rubbed or pulled.
- The battery begins charging under normal supply.
- Simulated loss of normal power causes the emergency light to illuminate.
- Light output remains usable for the specified test duration.
- Normal supply returns without leaving the emergency lamp incorrectly latched on.
- Covers, panels and equipment-room access points are restored.
- Test results and replacement part details are recorded.
If the light still fails after replacing the obvious component, stop substituting parts and return to circuit-level diagnosis. Check the supply input, output under load, wiring continuity, connector pinout and battery compatibility against the original documentation.
FAQ
Can an elevator emergency light be tested by switching off the building power?
Only use a planned and approved method that isolates the correct supply without creating risks for passengers, equipment or other building systems. The lift manufacturer's instructions and site procedures should determine the test method. Avoid uncontrolled mains switching or opening live equipment to create a fault.
How long should elevator emergency lighting last?
The required operating period depends on the installation design and applicable requirements. Check the lift documentation, the emergency-lighting equipment specification and the building's maintenance requirements. The practical test should demonstrate the stated required duration, not merely that the light flashes on briefly.
Can an LED light replace an older emergency lamp?
Possibly, but only when the supply voltage, current draw, polarity, fitting, connector and emergency power supply are compatible. An LED's lower power draw does not by itself make it a suitable replacement.
Why does the emergency light work during a normal inspection but fail in an outage?
The normal supply may be powering the light or masking a weak battery. A true test requires the system to transfer to battery power and remain lit under load for the required period.
For replacement sourcing, retain the original part number and record measured voltages, battery details and connector configuration. That information supports an accurate compatibility check and a repair that can be verified under real emergency conditions.
Related product references
For practical catalog examples related to this topic, review [Car Emergency Lighting DC12V OTIS elevator parts lift accessories](/products/car-emergency-lighting-dc12v-otis-elevator-parts-lift-accessories/), [Emergency lighting power supply lift accessories elevator spare parts](/products/emergency-lighting-power-supply-lift-accessories-elevator-spare-parts/), and [Emergency power supply Hitachi elevator parts lift accessories](/products/emergency-power-supply-hitachi-elevator-parts-lift-accessories/). Confirm the exact model, dimensions, ratings, and connectors before ordering.