
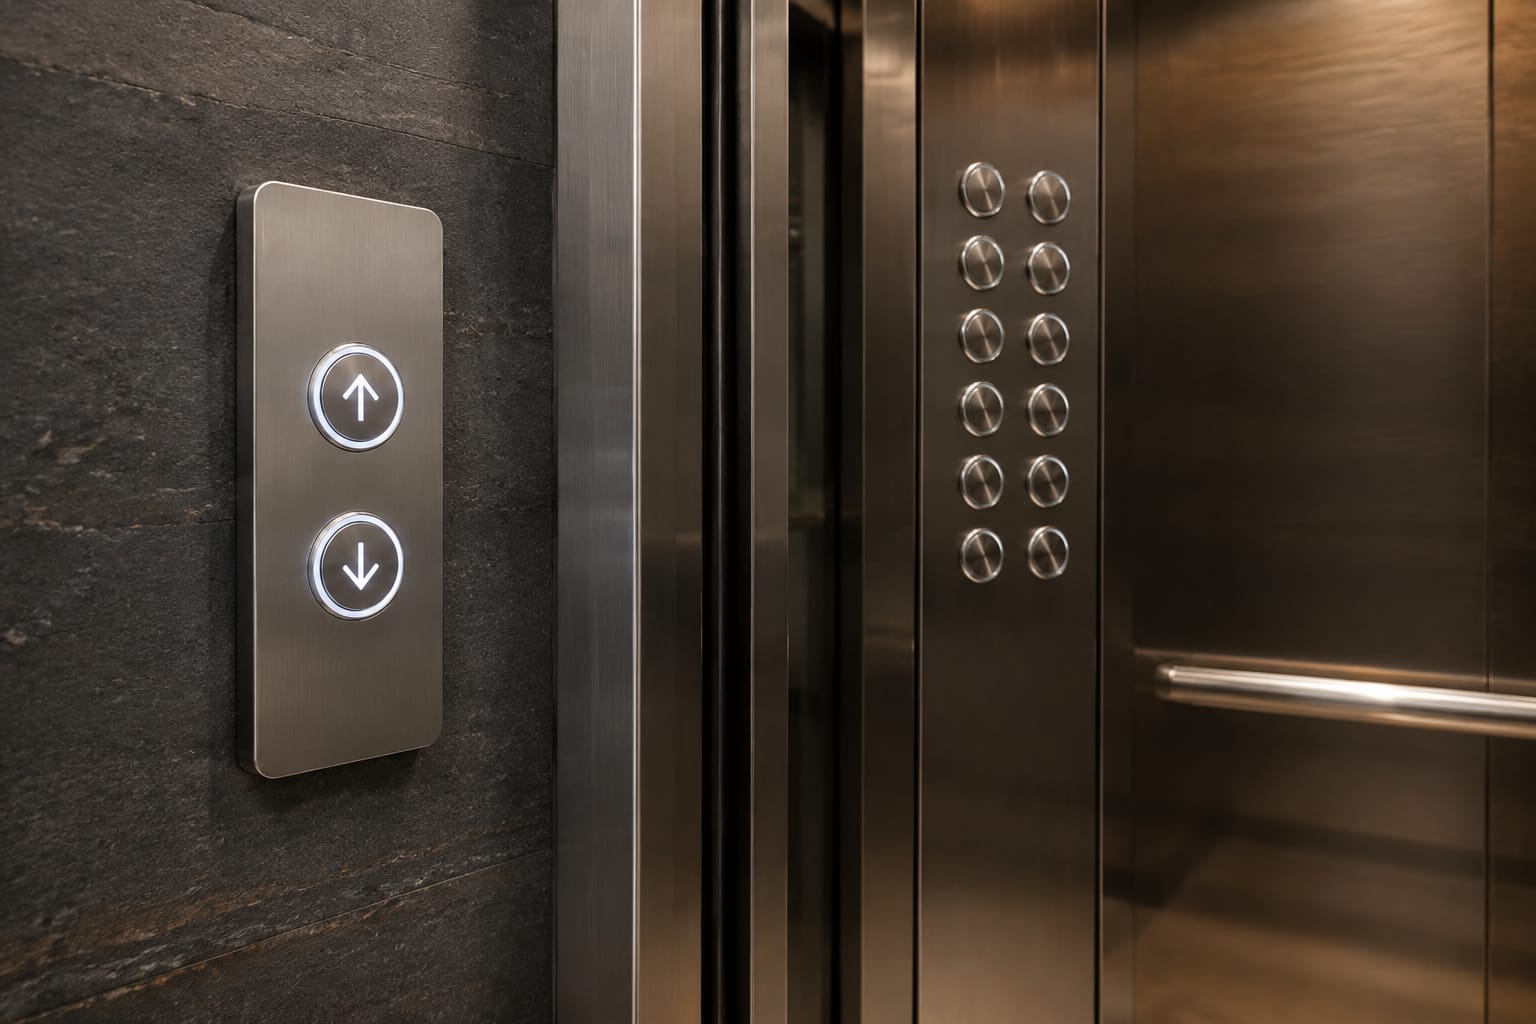
KONE elevator buttons should be selected by the exact panel application and electrical interface, not by appearance alone. A button that looks correct may still fail to fit the cut-out, illuminate at the wrong voltage, use an incompatible connector, or communicate incorrectly with the existing car operating panel or landing call board.
For a reliable replacement, first establish whether the part is a car button or landing button, then match its dimensions, mounting method, illumination details, connector arrangement and any printed part or board codes. Clear photographs and measured dimensions are often as important as the lift model when sourcing older or modernised equipment.
KONE car buttons versus landing buttons
KONE elevator buttons serve different functions depending on where they are fitted. The first decision is whether the required part belongs inside the lift car or on the landing.
Car operating panel buttons are installed within the car operating panel (COP). They may include:
- Floor-selection buttons
- Door open and door close buttons
- Alarm, emergency call or help buttons
- Fan, light or access-control buttons where fitted
- Keyswitches and other authorised-operation controls
These buttons are typically connected to a car button board, car operating panel wiring loom, or a serial interface within the lift car. Their legends, illumination behaviour and accessibility markings need to match the panel's intended function.
Landing buttons are fitted at a lift entrance and are used to call the lift. A simple installation may have an up or down button, while a more complex group installation can use a destination-control interface, display and call board. Landing devices must match the available direction, panel configuration and the communication arrangement used by the lift system.
A car button cannot generally be substituted for a landing call button simply because both are round, square or have a similar symbol. Their electrical function, mounting depth, connections and associated electronics may differ substantially.
| Checkpoint | Car operating panel button | Landing call button |
|---|---|---|
| Typical location | Inside the lift car | At the floor entrance |
| Main purpose | Select a floor or car function | Request travel direction or enter a destination |
| Usual markings | Floor number, door symbol, alarm or service symbol | Up/down arrows, call symbol or destination interface |
| Associated equipment | COP, button board, car wiring loom | Landing call board, display or landing wiring |
| Main compatibility concern | Panel cut-out, car electronics and legend | Call-board type, direction configuration and landing interface |
Before ordering, record the button's location and purpose in plain terms, such as “car panel, level 6 button” or “landing panel, down call button at level 4”. This prevents ambiguity where the same number or arrow appears in several locations.
Identify the panel and elevator model
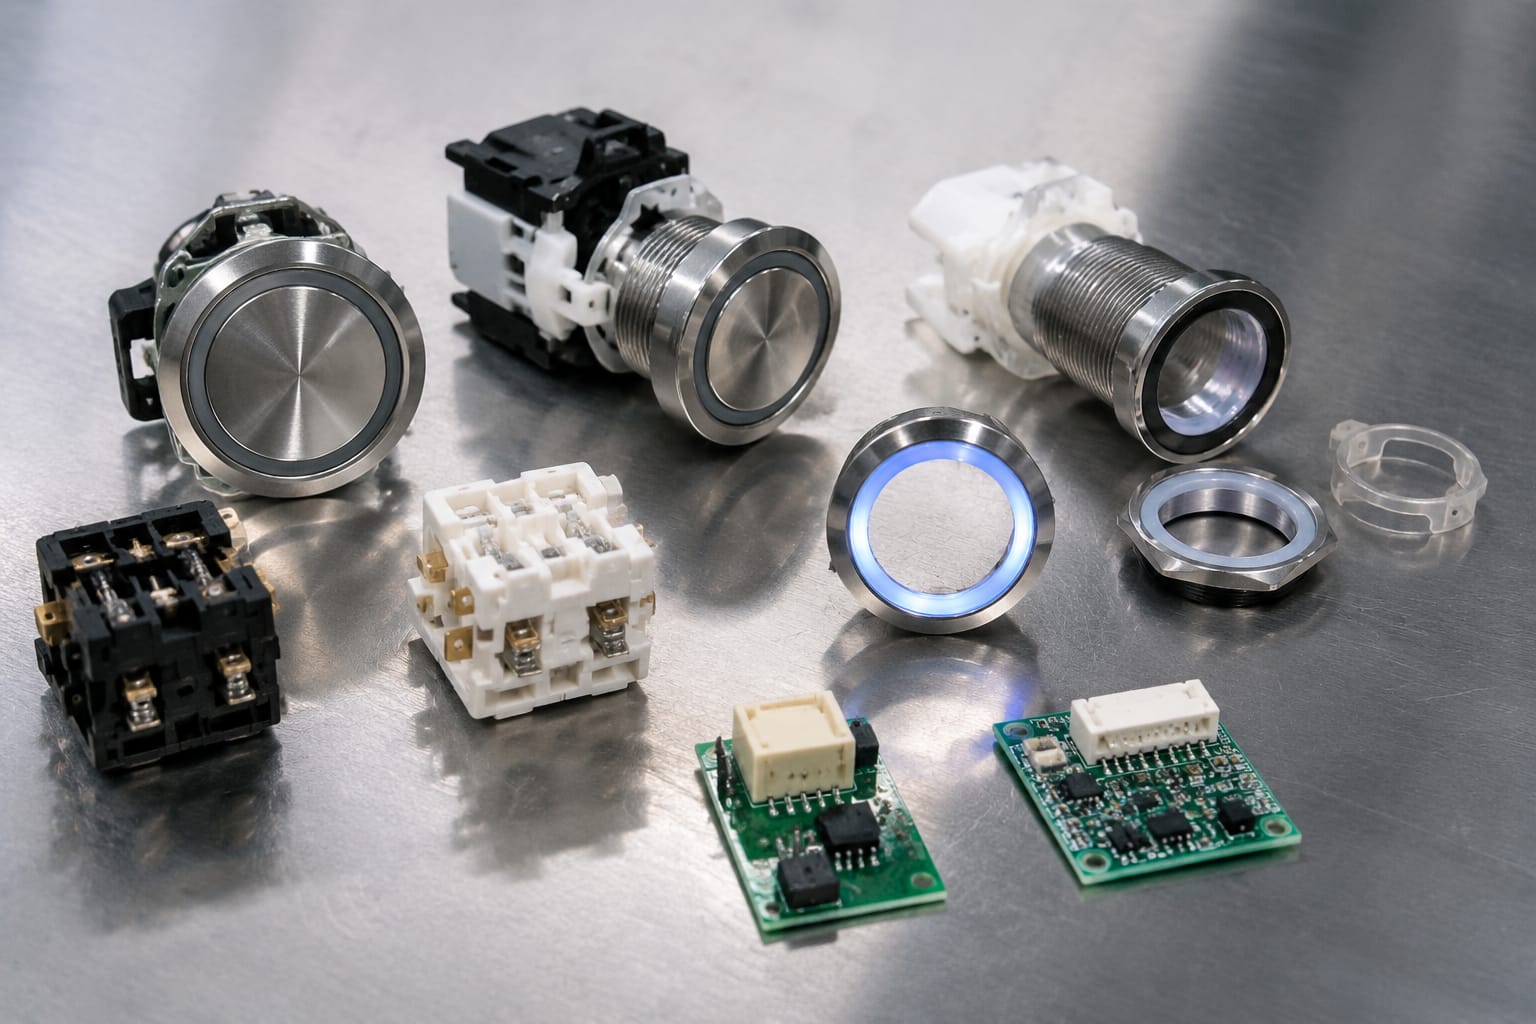
The lift model and panel type give useful direction, but they should not be treated as a complete identification method. KONE installations can have different fixtures, boards and revisions over their service life. A replacement part may also have been fitted during a previous refurbishment.
Start by identifying the panel itself:
- Is it a car operating panel, a landing call station, a hall lantern, a display panel or a destination-control terminal?
- Is the panel surface stainless steel, painted metal, glass or another material?
- Is the button mounted from the front, retained from behind, or integrated into an assembly?
- Does the panel have conventional push buttons, capacitive touch controls, a display screen, or a mixture of these?
- Are other buttons in the same panel original and visually identical?
Then capture available lift identification information from the controller documentation, machine-room records, car information plate or maintenance records. Record the lift model, installation or modernisation details and controller family only where they are clearly stated. Do not infer a model from a logo or the look of one button.
For older lifts, the existing component may be the more reliable reference. Read every marking on the button body, rear label, connector, board and cable label. A part number, revision number or manufacturer code can distinguish two otherwise similar KONE elevator buttons.
When the car buttons are part of an electronic assembly, assess the related board as well. A fault that appears to be a failed button can originate from the board, cable or display interface. Relevant KONE car button board parts should be compared using the board code, connector layout and installed position rather than by photographs alone.
Match button dimensions and mounting
Physical compatibility is a non-negotiable check. A replacement that is a few millimetres too large may not enter the panel aperture; one that is too small can sit loosely, leave an exposed gap or fail to engage its retaining clips.
Measure the removed button where possible. Use a calliper for the most dependable result and note measurements in millimetres.
Record:
- Visible face diameter or width and height
- Panel cut-out diameter or opening dimensions
- Overall body depth behind the panel
- Bezel thickness and face profile
- Retaining clip, nut, bracket or screw positions
- Distance between fixing points for multi-button assemblies
- Available clearance behind the panel
For a circular button, do not assume the face diameter equals the cut-out diameter. The bezel commonly overlaps the panel opening. For a square or rectangular fixture, measure both the face and the opening because the dimensions may be different.
Also check the mounting direction. Some buttons can be inserted only from the front and retained from the rear; others are installed from behind or use a dedicated carrier. Forcing a near-match can bend panel metal, break clips or damage the board behind the panel.
Where a button belongs to a grouped fixture, replace it only after confirming whether the component is individually serviceable. Some panels use a combined button and carrier, while others require a complete module. The product code and rear construction will usually clarify this.
Check illumination voltage and colour
Illumination is more than a cosmetic feature. The lighting arrangement must be compatible with the existing lift electronics and intended indication.
Inspect the original button for these details:
- Illumination voltage or supply marking
- LED, lamp or light-guide construction
- Number of illuminated zones
- Resting and activated colours
- Whether the button flashes, changes colour or stays continuously lit
- Separate terminals or wires for the light source
- Condition of the lens, diffuser and light guide
A floor button may have a white or neutral resting appearance and illuminate when a call is registered. Other fixtures use coloured status lighting, arrow illumination or a halo around the button. The correct appearance must be confirmed from the installed panel, not selected only from catalogue images.
Voltage is particularly important. A button designed for one supply arrangement may not illuminate, may be damaged or may cause a fault if connected to another arrangement. Do not assume that every LED button is interchangeable because it uses low voltage. Confirm the marking on the original part, the relevant circuit information and the connector or terminal assignment.
Colour matching also matters on a visible panel. Replacing a single button with a different shade, brightness or symbol illumination can leave an inconsistent finish. If exact colour consistency is essential in a public-facing car, compare a clear photograph of a working adjacent button under normal lighting.
A failed light does not automatically mean that the whole button is defective. Check whether the illumination is integrated, whether the connector is seated properly, and whether the fault follows the button or remains at the same panel position. Isolation and electrical testing should be performed by competent lift personnel with the equipment safely controlled.
Compare button and call-board codes
Part and board codes provide a more dependable match than a general description such as “KONE lift button”. Check both the individual component and the electronics that support it.
Look for printed, etched or labelled codes on:
- The rear of the button body
- Button carriers and mounting frames
- Call boards and car button boards
- Display modules
- Plug housings and cable labels
- The rear of a landing fixture
- Existing parts packaging, if available
Record the full code exactly, including prefixes, suffixes, revision letters and punctuation. A missing digit or revision marker can lead to a different component. Take a close, readable photograph as well as typing the code into the parts enquiry.
For landing fixtures, it may be necessary to identify the related call board or display board. The physical call button may be only one element in a board-level assembly, and the board's code can determine the correct interface. Compare any replacement against the existing KONE call display board by the complete code, connector locations and display configuration.
Where the landing panel includes an LCD screen, the screen and call function may be supplied through a dedicated module. In that case, establish whether the issue concerns the button itself, the display, the call board or the communication between them. Compatible KONE LCD display and call-board parts should be evaluated against the original board reference and not merely the screen size.
Why revisions need attention
A later revision can sometimes supersede an earlier part, but it should not be presumed to be a direct fit. Revisions may involve changed plugs, mounting, firmware requirements, address settings or lighting behaviour. Confirm whether the proposed replacement is the same code, an approved substitute, or a component that requires a paired board or harness change.
If there is no readable code, use a combination of detailed photographs, measurements, connector views and lift information. This gives a supplier enough evidence to narrow the options without relying on guesswork.
Inspect connectors and wiring
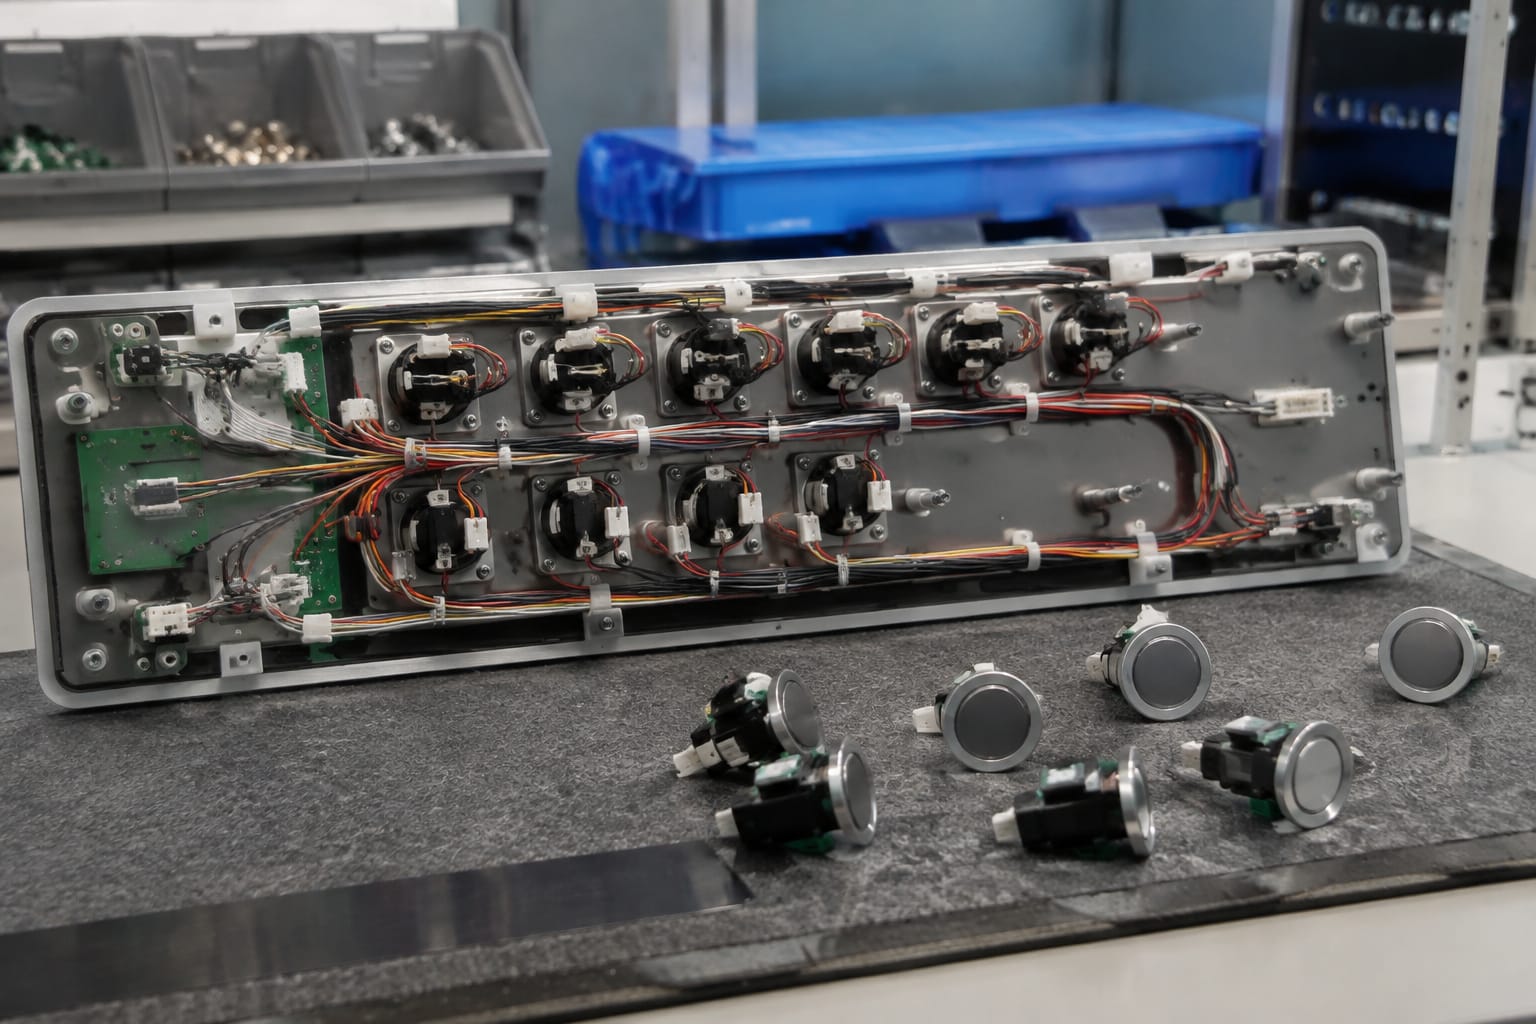
The back of the button often contains the information that distinguishes compatible from incompatible versions. Photograph and inspect it before disconnecting anything, provided the work is being undertaken safely by qualified personnel.
Check:
- Connector type and housing shape
- Pin count and pin arrangement
- Plug keying, locking tab and cable exit direction
- Wire count, colours and printed wire labels
- Separate plugs for the switch and illumination
- Terminal markings, if fitted
- Cable length and routing space
- Signs of corrosion, heat damage, loose terminals or damaged insulation
Never modify a connector, cut a plug or swap wire positions solely to make a replacement fit. Lift fixtures may use low-voltage signals, serial communication or supervised circuits, and an incorrect connection can leave the button inoperative or affect other panel functions.
A button can test mechanically sound while its wiring or board input is faulty. Inspect the original connector and harness for pulled conductors, damaged locks and poor contact pressure. If an adjacent button has an equivalent connector and function, it may help with diagnosis, but only use controlled testing procedures appropriate to the lift system.
For landing buttons, trace whether the button connects directly to a board, through a short harness, or via a combined display/call module. This affects whether a button-only replacement is practical.
Test operation after replacement
Testing should confirm more than a physical click. After installing a correctly matched button, verify that it works consistently in the normal operating environment and that no related function has been disturbed.
Use a controlled test process:
- Confirm the new component is mounted securely and sits flush with the panel.
- Inspect that connectors are fully seated, correctly keyed and free from trapped wiring.
- Restore the lift in accordance with the site’s safe working procedures.
- Check the button’s resting illumination, where applicable.
- Press the button and confirm the intended response: floor registration, landing call, door operation or other specified function.
- Confirm the activated light, acknowledgement or display response behaves as expected.
- Test an adjacent function to ensure the replacement has not affected neighbouring inputs.
- Check the panel for loose movement, pinched cables, inconsistent lighting or fault indications.
- Record the part number and replacement date in the maintenance record.
For a floor-selection button, the lift should register the selection and provide the expected acknowledgement. For a landing button, test the correct direction at a time when that direction can reasonably be served. A door button should be checked against its intended operation and site safety procedures.
Do not bypass safety circuits or leave a panel unsecured to complete a test. If the replacement does not operate, stop and compare the part code, connector pinning, supply or signal path, board input and configuration requirements. Repeatedly replacing buttons without diagnosing the circuit can waste parts and extend downtime.
Information to send a parts supplier
A precise enquiry reduces the risk of receiving a visually similar but unsuitable part. Supply information in a format that lets a technical buyer compare the requirement with the original equipment.
Include the following:
- Required quantity
- Location and function, such as “car operating panel, floor 3” or “landing station, up button”
- Lift model and controller details, where known
- Clear front, rear and side photographs of the original part
- Full button, board and cable codes
- Measured face size, cut-out size and overall depth
- Mounting method and fixing details
- Connector photographs, pin count and wire information
- Illumination voltage, colour and behaviour
- Whether a board, display or harness is also suspected to be faulty
- The country and delivery destination for the commercial quotation
Include a photograph of an adjacent working button when the original part is missing or severely damaged. It can show the correct illumination colour, symbol style and panel finish. For a complete panel assembly, photograph the whole panel as well as the individual component.
Kelevator supplies multi-brand lift spare parts to B2B importers, distributors, maintenance contractors and OEM buyers. For KONE button enquiries, the practical starting point is a complete component record rather than a brand name alone. That enables the supplier to assess the code, physical fit and related board compatibility.
Common selection mistakes to avoid
The most common mistake is ordering from a front photograph only. Similar-looking buttons can have different body depths, retaining systems and plugs.
Other avoidable errors include:
- Treating a car floor button and landing call button as interchangeable
- Measuring only the visible bezel, not the panel cut-out
- Ignoring the illumination voltage and activated colour
- Omitting board revision codes from an enquiry
- Ordering a button when the underlying call board is the likely failed component
- Fitting a component with a modified or forced connector
- Replacing a single public-facing button without checking visual consistency with the panel
- Testing only the press action and not the registered call, lighting and related functions
Where the code and connector match but the fault remains, investigate the wider circuit before ordering further parts. The correct replacement cannot resolve a damaged harness, failed board input or configuration issue.
FAQ
Can I replace a KONE elevator button with a similar universal button?
Only where the universal part has been verified as compatible with the panel cut-out, mounting, electrical supply, connector, signal arrangement and intended function. Similar appearance is not sufficient evidence of compatibility.
Is the lift model enough to identify a replacement button?
Usually not. The lift may have alternative fixtures, earlier repairs or a modernised panel. Use the model as supporting information alongside the original part code, photographs, dimensions and connector details.
Should I replace the call board when one landing button fails?
Not automatically. First determine whether the fault is in the button, its connector, local wiring, illumination circuit or the board input. Replace a call board only when inspection and appropriate diagnosis indicate that it is required.
What if the original part number cannot be read?
Provide sharp photographs of the front, rear, connector and installed panel, plus accurate measurements and known lift details. An adjacent matching part can also provide useful identification evidence.
The right KONE elevator button replacement is the one that matches the installed panel electrically and mechanically, not simply the one with the closest face design. Assemble the codes, dimensions, illumination details and connector photographs before sourcing, then test the full function after fitting.
Related product references
For practical catalog examples related to this topic, review [COB Car Button Board KONE elevator parts](/products/cob-car-button-board-kone-elevator-parts/), [Call Display Board KONE elevator parts lift accessories](/products/call-display-board-kone-elevator-parts-lift-accessories/), and [LCD Display Call Board KONE elevator parts lift accessories](/products/lcd-display-call-board-kone-elevator-parts-lift-accessories/). Confirm the exact model, dimensions, ratings, and connectors before ordering.