
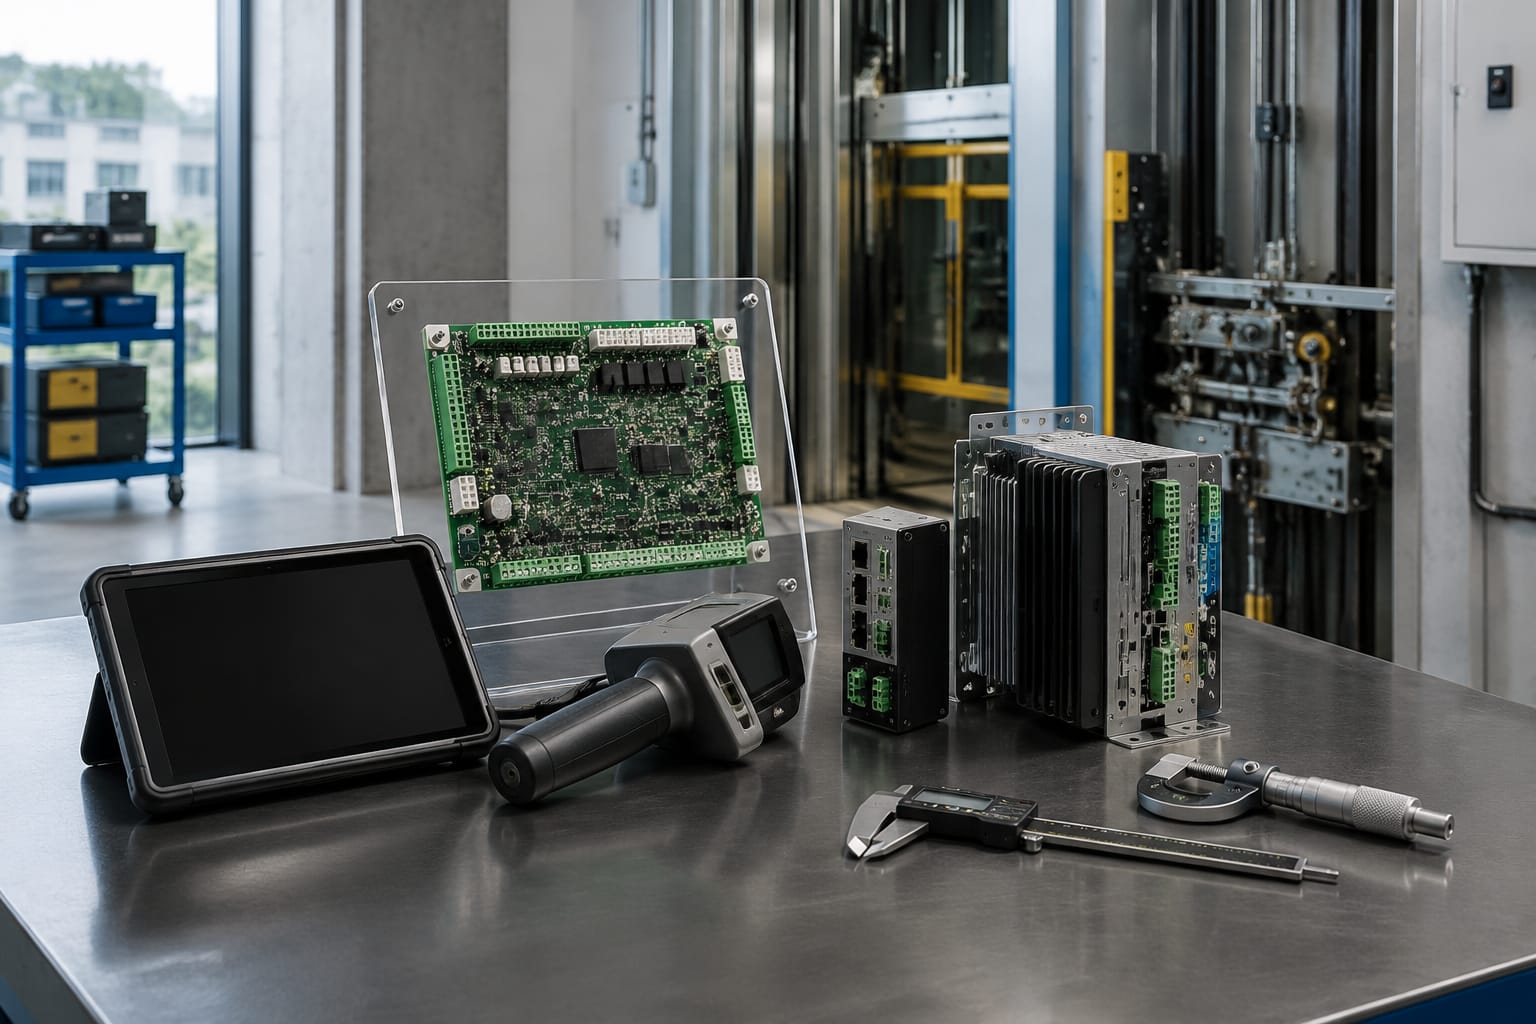
A KONE parts view is most useful when it helps you move from “this looks like the failed part” to a verified replacement identity. Start with the lift model or system, the failed component’s job, its full label and board code, then compare the revision, connectors and installed arrangement. A photograph is supporting evidence, not the primary match criterion.
For maintenance contractors, importers and sourcing teams, this approach reduces the risk of ordering a board or display that fits physically but cannot communicate with the rest of the installation. Keep the removed item, its labels and clear connector photographs available until the replacement has been checked against the application.
What buyers mean by KONE parts view
Buyers use “KONE parts view” in several ways. It can mean a visual listing of lift components, a search for the part shown in a controller or car operating panel, or a request to identify a replacement from a photograph. In practice, it should mean a structured way to view the part in context.
The useful context is not only the component itself. It includes:
- The lift model, controller family or equipment designation
- The component function, such as door control, position indication, outgoing call display or pit accessory
- The original part number and manufacturer label
- Board codes, software or hardware revision markings where shown
- Plug, terminal and ribbon-cable arrangements
- The number of connectors used and whether any positions are unused
- The installation location and associated equipment
- Any fault symptom, provided it is treated as diagnostic context rather than proof of a failed board
A parts-view image can help distinguish an LCD display from a controller board, or one inspection accessory from another. It cannot by itself establish electrical compatibility, firmware suitability, pin assignment or application-specific configuration.
This matters particularly when a component has the same enclosure, mounting holes or display size as a different revision. Similar appearance is common across related product families and is not a substitute for identifiers.
Search by model and component function
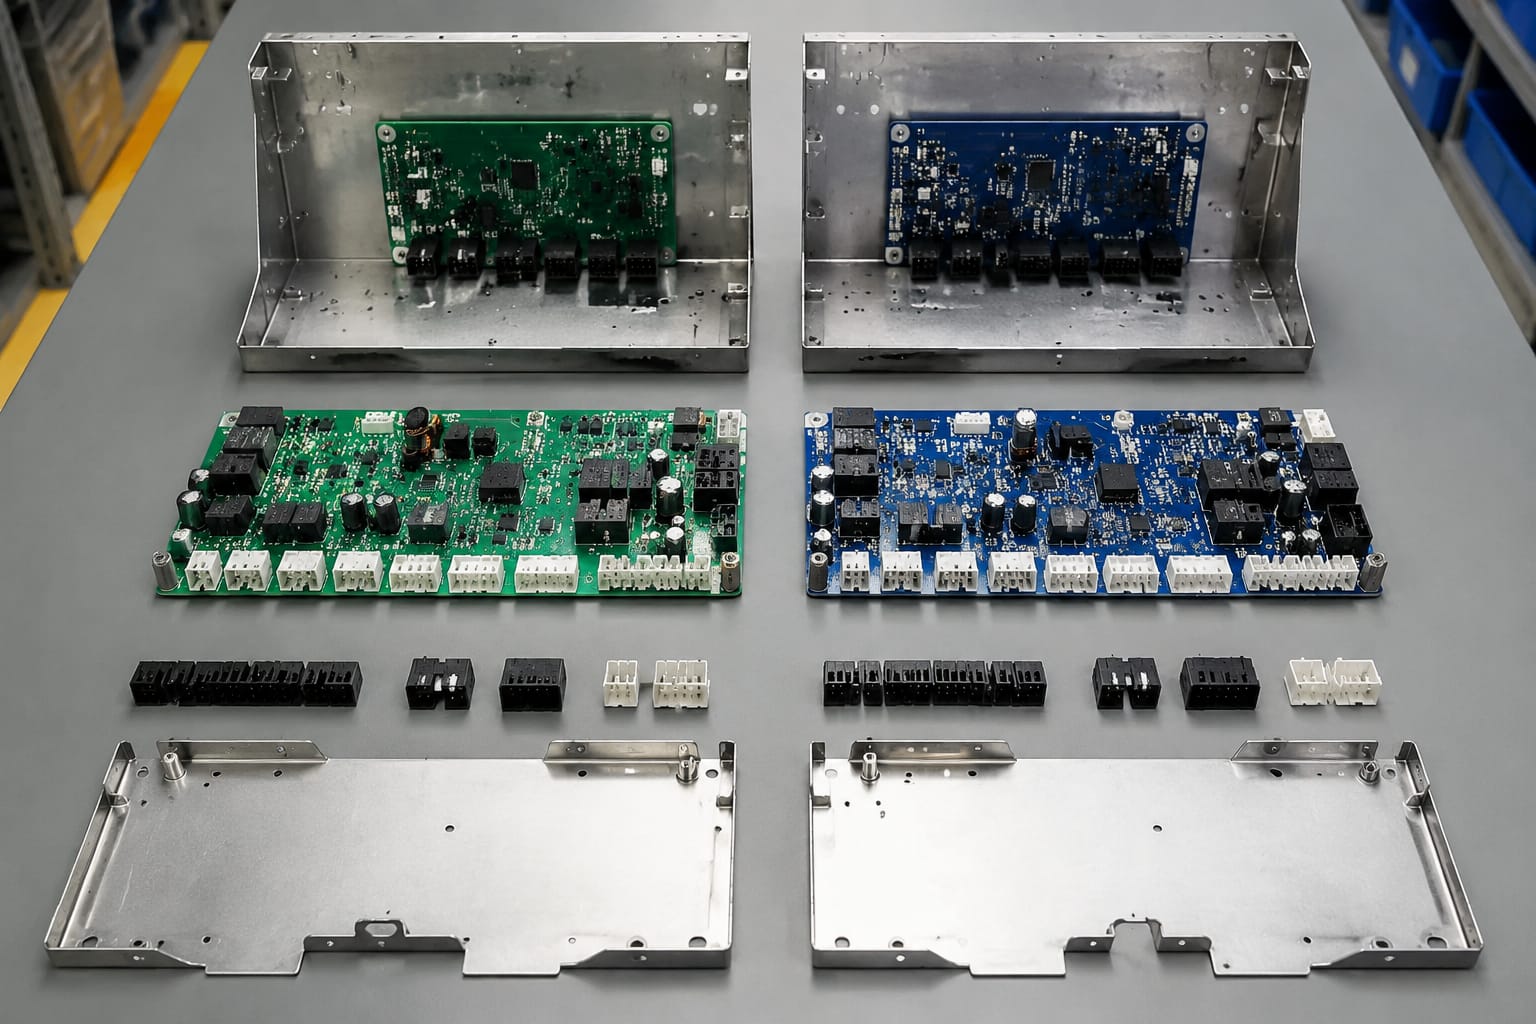
Begin with the largest reliable identifier, then narrow the search. Where the lift documentation, controller label or maintenance record identifies a system or model, record it exactly as shown. Do not simplify model strings, omit suffixes or assume that two similar designations belong to the same configuration.
Next, define what the component actually does. “KONE board” is too broad to produce a reliable match. A more useful description is “landing outgoing call display board”, “car position display”, “door operator control board”, “communication interface board” or “pit inspection box lighting switch”.
Use the installation position to narrow the field
The location often rules out incorrect candidates before you compare codes:
| Installation area | Typical component function | What to establish |
|---|---|---|
| Machine room or controller cabinet | Main control, drive interface, communication or I/O board | Controller family, slot or mounting position, connected harnesses |
| Car operating panel | Buttons, indicators, car display or interface board | Panel layout, display type, cable arrangement and labels |
| Landing fixture | Call button, indicator, display or interface module | Fixture type, floor application, display direction and wiring |
| Door operator | Door control, encoder-related or interface component | Operator type, motor and sensor connections, original board code |
| Lift pit | Inspection equipment, lighting switch or safety-related accessory | Assembly type, switch configuration and mounting arrangement |
For example, a product described as a KONE pit inspection box and well-lighting switch should be assessed as an accessory assembly, not as a generic controller-board replacement. Its switch functions, mounting and connected wiring are more relevant than whether its housing looks familiar.
Work from the physical part outwards
A practical search sequence is:
- Record the lift or equipment identification from the available documentation and labels.
- Identify the failed item’s installed location and operational function.
- Transcribe the original part number, board code and revision exactly.
- Search using the exact code first, then combine the system designation with the component function.
- Compare photographs and technical details only after finding a candidate with matching identifiers.
- Escalate unclear cases by collecting more evidence rather than selecting the closest-looking item.
If the original part cannot be read, use the controller position, connected cable types and matching components elsewhere in the installation to build the identification. Treat that as a provisional identification until a code, diagram or reliable technical record confirms it.
Read labels and board codes
The label is usually more valuable than the visible face of the item. Photograph or transcribe every marking before removal if practical, including labels hidden by a mounting rail, cover or cable. On printed circuit boards, the most useful identifier may be printed directly on the board rather than on an external sticker.
Look for the following separately:
- Manufacturer part number
- Board or assembly code
- Material, order or serial number where present
- Hardware revision
- Software, firmware or configuration information where applicable
- Voltage, current or supply markings
- Barcode and traceability labels
- Date or batch marking, which may help distinguish production variants but is not normally the ordering number
Do not assume that the most prominent number is the replacement code. It may identify a subassembly, production batch, electrical approval or enclosure. The code most likely to matter is commonly associated with terms such as part number, P/N, item code, board number or assembly number, but the label convention varies.
Transcribe codes exactly
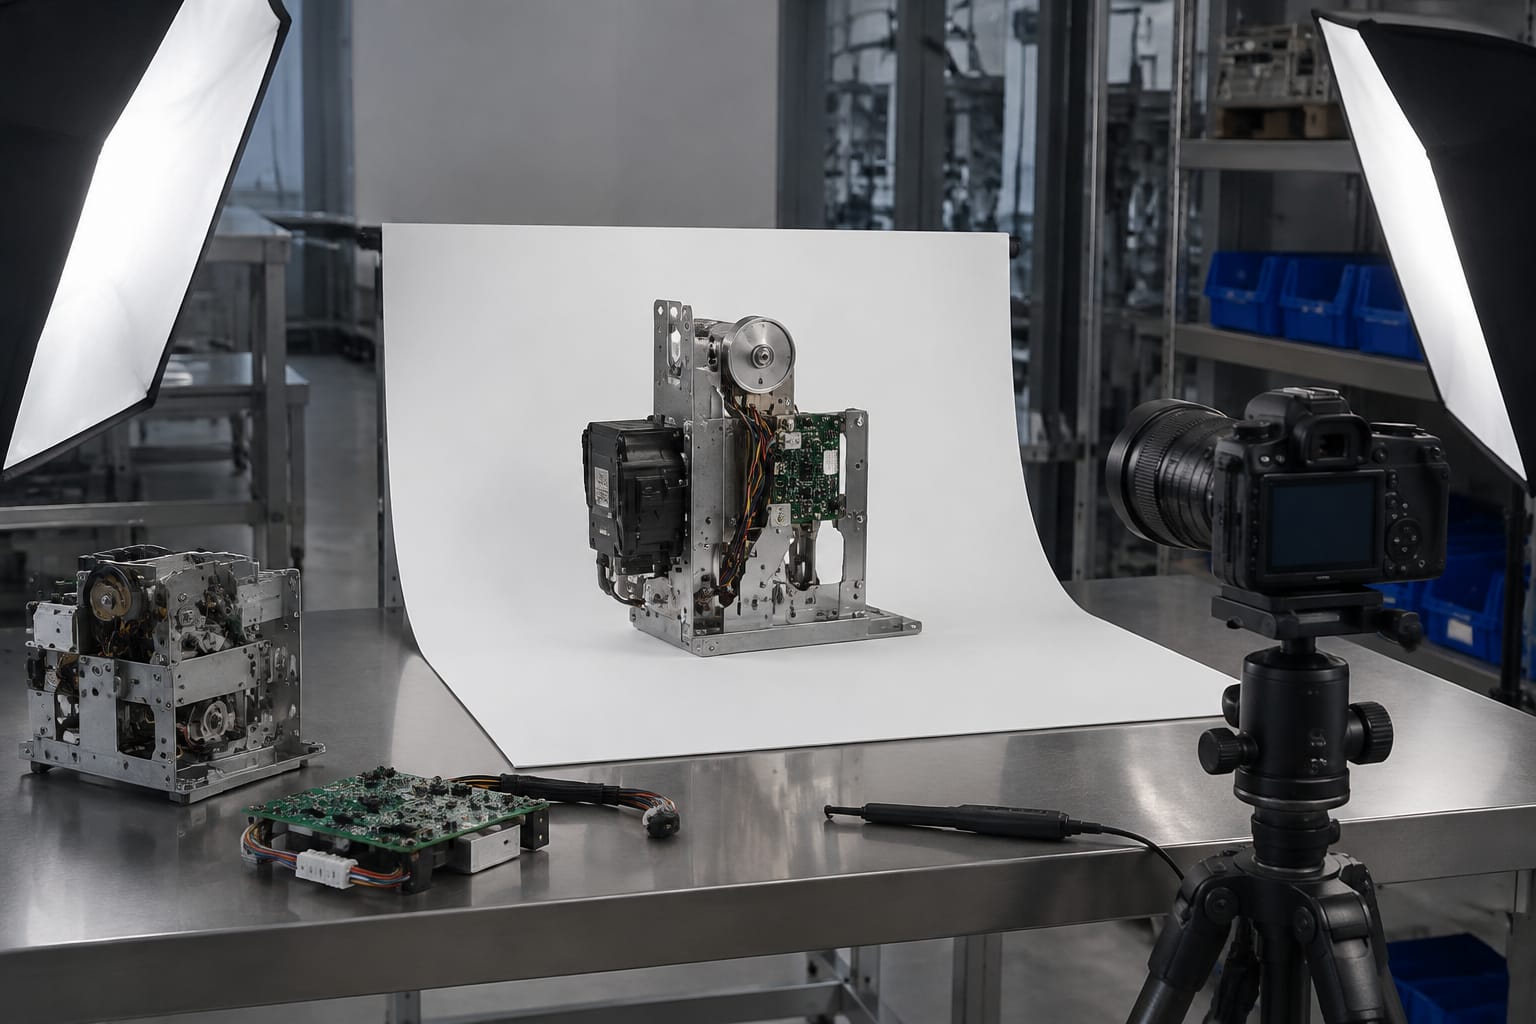
Preserve spaces, hyphens, leading zeros and suffixes. A single character can distinguish a different hardware version, display format, connector option or programmed application. When sending a request, provide both a typed transcription and a high-resolution label photograph. Typed text improves searching; the photograph lets the supplier verify ambiguous characters.
Characters frequently confused in photographs include:
0andO1,Iandl5andS8andB2andZ
Avoid “correcting” a number based on what seems likely. Mark uncertain characters with a question mark in your notes and request confirmation from the image.
A code printed on a daughterboard may not identify the complete assembly. Check whether the item is supplied as a complete module, whether the visible board is one of several boards, and whether the replacement requirement is for the board only, display only or an assembled unit with housing and harnesses.
Compare revision numbers and connectors
After finding the original code or a potential replacement, compare the revision and connection details. Revisions are not merely a manufacturing detail. They can change component tolerances, connector allocation, supported devices or expected firmware.
A later revision can sometimes replace an earlier one, but that must be confirmed for the specific application. A higher revision number does not automatically mean it is compatible, and an older board should not be accepted as interchangeable simply because its connectors appear to line up.
Check these items side by side
Use a side-by-side record for the original and candidate part:
- Exact part or board number
- Hardware revision and any suffix
- Number of connectors
- Connector shape, keying and pin count
- Connector labels or printed pin designations
- Ribbon-cable orientation and locking method
- Terminal positions and markings
- Mounting-hole positions, board dimensions and enclosure fit
- Display, button or indicator interface where applicable
- Any required configuration, programming or paired component
Count connectors, but do not stop there. Two boards can have the same number of plugs while using a different pinout or connector key. Compare the label beside each connector and take square-on photographs of the socket face. A close-up that only shows the cable attached may hide important keying details.
Consider configuration separately from fit
Electrical fit and functional fit are different checks. A board may physically mount and power up but remain unsuitable because it requires a particular configuration, software release, network arrangement or associated display. This is especially important for communication and display components.
Ask these questions before treating a replacement as confirmed:
- Is the candidate specified as a direct replacement for the original exact code?
- Does it support the same controller, display or fixture family?
- Are all connectors and their labels consistent with the installed unit?
- Does the application require configuration, commissioning or software compatibility confirmation?
- Is the supplied item a bare board, a complete assembly or an alternative version?
Where records are incomplete, preserve the original board. It can be essential for checking markings, connector orientation and mounted components after an initial inspection.
Match displays and communication boards
Displays and communication boards are often misidentified because their visible surfaces can be almost identical. The display size, colour, segment layout or mounting frame is only one part of the match. The interface behind it determines whether it will operate with the existing lift system.
For a landing or car display, establish whether the part is a complete display module, a display board, an indicator assembly or a communication interface that drives a separate screen. Then document the direction indication, floor-character arrangement, connector style and the interface cable.
A KONE outgoing call display board is a useful example of why function needs to be stated precisely. An outgoing call display board serves a different role from a car position display, even where both are compact display-related boards. The installation point, connector arrangement and system communication must all be checked.
Questions for display matching
Before sourcing a display-related replacement, confirm:
- Whether it is installed in the car or at a landing
- Whether it displays car position, travel direction, call status or another signal
- Whether it is a standalone display or part of a combined fixture
- The visible display format, including segment or pixel arrangement
- The number and style of data and power connections
- The board code and revision on the rear
- Whether a separate cover, faceplate, button module or cable is needed
- Whether the replacement needs system configuration after fitting
For communication boards, the controller and connected network are central to the match. Identify what the board communicates with: a car panel, landing fixtures, a door system, a display or another controller subsystem. Do not infer the protocol from a plug shape or cable colour alone.
Where possible, include a photograph showing the board installed, followed by photographs of the rear, connectors and labels. The installed photograph shows the system context; the close-ups verify the component.
Identify service tools correctly
A service tool is not simply an electronic accessory that connects to lift equipment. It may be a programmed device, a dedicated interface, a diagnostic handset, a programming accessory or a tool intended for a specific controller family. Tool identification should therefore include both the physical item and the intended use.
Record the tool model, part number, software or firmware information shown on its label or start-up screen, connector type, supplied leads and the controller or equipment family it is intended to support. A similar handheld item or interface cable may not provide the same functions.
Do not assume that an item described as a decoder is universally suitable for every KONE system. Confirm the supported application, required leads, operating method and whether the intended task is diagnosis, parameter access, programming or signal decoding. For context on a product-specific item, review the stated details for this KONE parts decoder rather than matching solely from its appearance.
Service tools can also have commercial and operational limitations. Verify what is included, whether it is complete for the required task, and whether its use requires authorised access, credentials, current software or site-specific permissions. Those matters cannot be assumed from a photograph or a generic product name.
Request useful supplier photos
Supplier photos are most useful when they answer a specific compatibility question. A polished front-facing product image may confirm general appearance, but it rarely confirms the labels, revision or connector layout needed for a replacement decision.
When requesting photographs, specify the views required:
- Full front and rear of the item
- Clear close-up of every label and printed board code
- All connectors, photographed straight on
- Connector labels and nearby pin markings
- Revision stickers, serial labels and software markings
- Mounting points, dimensions where the fit is uncertain, and any supplied housing
- Included cables, adapters, covers or accessories
- Packaging label where it identifies the supplied version
Ask for current photographs of the actual item proposed, rather than relying solely on a catalogue image. This is particularly useful where stock may include different revisions or where an item can be supplied as a bare board or complete assembly.
Good photographs need not be elaborate. Even lighting, sharp focus and a clear view of markings are more useful than a stylised image. Avoid flash glare on labels and take additional images where a cable hides a printed code.
For your own request, send the original part’s photographs in the same order: front, rear, labels, connectors and installed position. Include a short statement of the lift system and component function. That gives a supplier enough evidence to compare the relevant characteristics without guessing.
Avoid common matching mistakes
The most costly mistakes come from treating one matching attribute as conclusive. Reliable sourcing uses several independent checks.
Ordering from appearance alone
Boards with similar dimensions, colours and mounting holes can belong to different systems. Always prioritise the exact code, revision and connector labels over appearance.
Ignoring suffixes and revisions
An omitted suffix may indicate a different variant. Record the entire identifier, then ask whether the proposed part is a confirmed replacement for that exact version.
Matching only the connector count
The same number of connectors does not prove identical pin allocation or function. Compare the connector type, keying, labels and orientation.
Confusing a board with a complete assembly
A display unit may be sold as a module, while the visible circuit board is only one internal part. State whether you need the complete item, board only, housing, cable or a related fixture component.
Treating a fault code as a part number
Fault information can guide diagnosis but does not identify the failed component with certainty. Confirm the failed item through approved troubleshooting and the component’s actual markings before ordering.
Assuming plug-and-play operation
Some replacements require configuration, commissioning, software compatibility checks or associated parts. Confirm this before planning the repair window.
Relying on a blurred or partial image
A photograph that hides the revision label or connector face cannot settle a match. Request another image before making the decision.
Discarding the removed component too early
Keep the original part until the replacement has been installed and verified. It remains the best physical reference for labels, orientation and accessory requirements.
A practical replacement checklist
Before approving a KONE replacement part, complete this checklist:
- Lift model, controller or system designation recorded
- Component function and installation location confirmed
- Original part number and board code transcribed exactly
- Hardware revision and all suffixes captured
- Front, rear, label and connector photographs available
- Candidate part compared for code, revision, connectors and mounting
- Display or communication role checked where relevant
- Configuration, software or commissioning requirements clarified
- Supplied scope confirmed: board, assembly, cable, cover or accessory
- Original item retained until the replacement is verified
Kelevator supplies multi-brand elevator spare parts for B2B importers, distributors, maintenance contractors and OEM buyers. When a replacement is needed, provide the completed checklist and clear photographs with the exact original identifiers. That creates a practical basis for checking the proposed part rather than selecting the nearest visual match.
Related product references
For practical catalog examples related to this topic, review [KONE Elevator Parts Decoder Unlimited Times Operator lift parts](/products/kone-elevator-parts-decoder-unlimited-times-operator-lift-parts/), [Pit inspection box well lighting switch KONE elevator parts lift accessories](/products/pit-inspection-box-well-lighting-switch-kone-elevator-parts-lift-accessories/), and [KONE elevator parts outgoing call display board lift accessories](/products/kone-elevator-parts-outgoing-call-display-board-lift-accessories/). Confirm the exact model, dimensions, ratings, and connectors before ordering.