
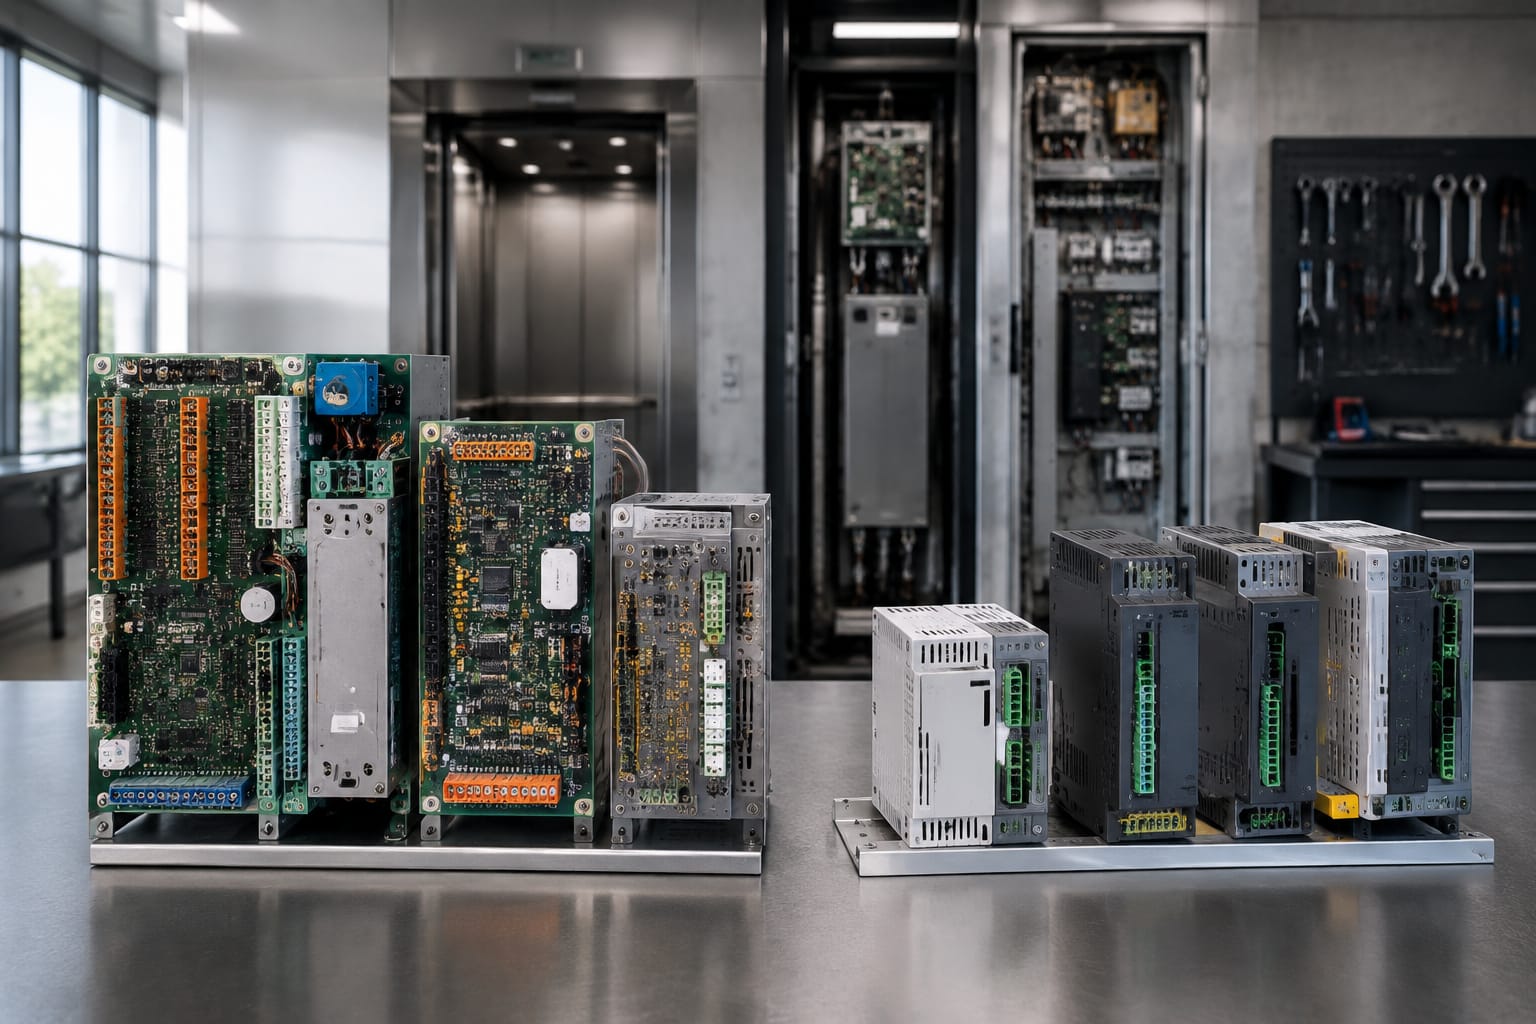
The correct replacement for a ThyssenKrupp elevator part is identified by more than the equipment brand or a board's general appearance. Start with the lift and controller family, then match the complete part number, hardware and software revision, connectors, supply ratings, and the function of the component in that specific installation.
This matters particularly for electronic boards, car displays and communication modules. A visually similar TKE part may use different pin assignments, firmware or communication protocols. Record the existing unit before it is removed, retain clear label photographs, and treat any missing code or revision detail as a compatibility question to resolve rather than an assumption.
ThyssenKrupp Elevator and TKE naming
ThyssenKrupp Elevator equipment may be described under several names in maintenance records, parts catalogues and on-site documentation. The historic ThyssenKrupp Elevator name is commonly associated with older installations and original component labels. TKE is the current group name seen in newer documentation and product references.
For practical sourcing, “ThyssenKrupp elevator parts” and “TKE elevator parts” can both describe parts for the same installed lift estate. They are not, however, a guarantee that two components are interchangeable.
Use the wording on the actual label as your primary reference:
- Preserve the manufacturer name exactly as printed.
- Record every part, material, order and serial number.
- Note the controller, door operator, car operating panel and display product names separately.
- Include the lift’s commissioning year only as supporting context, not as proof of compatibility.
- Check whether a part bears a legacy ThyssenKrupp label, a TKE label or another OEM label.
Modernisation work can add another layer of complexity. A car may retain an original controller while its car operating panel, position indicator or door equipment has been upgraded. In that case, the replacement decision must follow the equipment that the failed part actually connects to, rather than the name on the lift entrance or maintenance logbook.
Identify the elevator and controller family
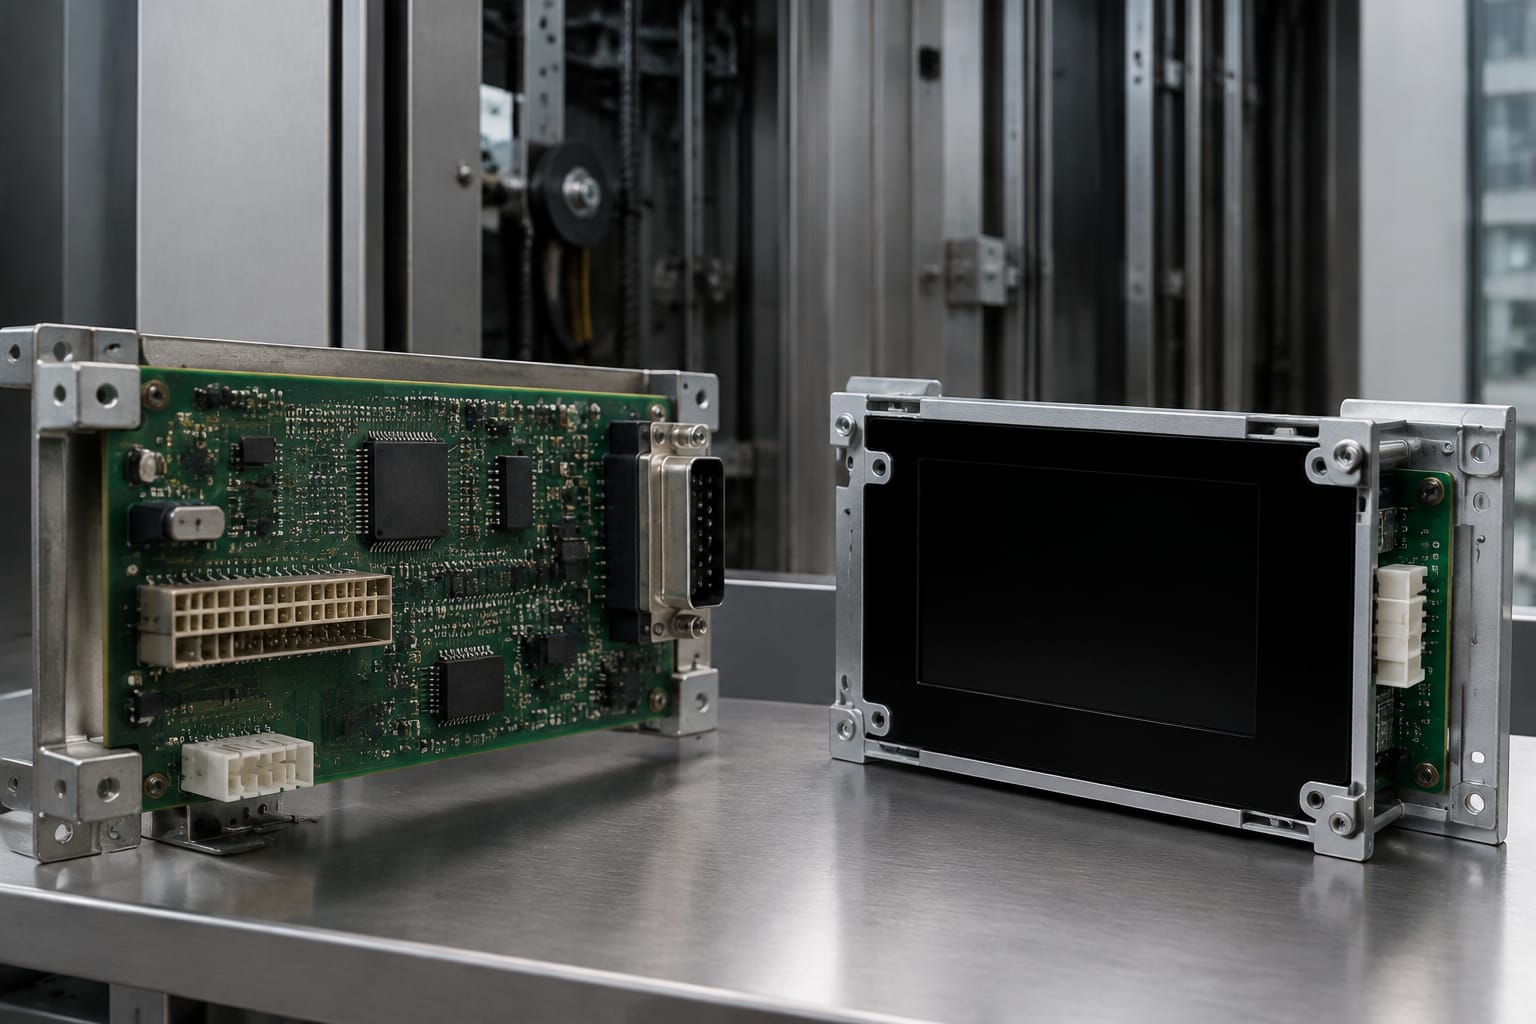
Identify the controller before selecting an electronic ThyssenKrupp elevator spare part. A controller family establishes the likely supply voltage, communication architecture, terminal arrangements and compatible peripherals. The controller designation is normally found on the controller cabinet, main board or original technical documentation.
Record the following information from site:
| Item to identify | Why it affects replacement selection |
|---|---|
| Controller designation and version | Helps establish the system family and permitted peripheral boards |
| Existing component part number | The strongest starting point for finding an exact or superseded replacement |
| Board revision | Boards with the same base code can have different layouts, firmware or functions |
| Lift configuration | Passenger, goods, hospital and service lifts can use different car and landing equipment |
| Component location | Distinguishes controller, car top, car operating panel, landing display and door equipment |
| Fault indication | Helps determine whether the component itself is faulty or is reporting another system fault |
| Modification history | Identifies modernised or non-original equipment that changes compatibility |
Do not rely solely on a fault code to order a board. Communication faults, for example, can result from damaged travelling cable cores, incorrect terminations, power supply issues, water ingress or a failed connected device. Diagnose the circuit and connections before concluding that the board is defective.
Separate the controller from the car and landing equipment
A board inside the controller cabinet is not necessarily matched in the same way as a board in the car operating panel (COP) or a landing fixture. Car and landing components often need to match the display type, button arrangement, bus connection and local power supply.
For a replacement display or communication board, establish:
- Whether it serves the car, a landing, the car top or the controller.
- The connected equipment: display, push buttons, arrows, gong, card reader or other interface.
- The number and type of connectors.
- Whether the unit communicates on a serial bus or uses discrete input and output signals.
- Whether adjacent boards or display modules have been changed previously.
This information avoids the common error of ordering a compatible-looking board that belongs to a different panel generation.
Common display and communication parts
Display and communication items are among the most frequently misidentified ThyssenKrupp elevator parts because their external appearance is often similar across product ranges. Treat the board label, connector arrangement and function as a combined identification set.
Common examples include:
- Car position display boards
- Hall direction and position indicator boards
- Car communication boards
- COP interface boards
- Outbound display boards
- Button and indicator interface modules
- Cabin display power or distribution boards
- Bus couplers and communication harnesses
An [outbound display board for Thyssen elevator applications](/products/outbound-display-board-thyssen-elevator-parts-lift-accessories/) should be evaluated against the display arrangement and the specific board label. The physical size, screen style or mounting points alone do not confirm that it will operate on a given system.
Similarly, a [rectangular-chip car communication board](/products/car-communication-board-rectangular-chip-thyssen-elevator-parts-lift-accessories/) requires a connector and revision check before selection. Communication boards may support different node addresses, cable interfaces or display assemblies even where their general function is alike.
For applications using a 3600-related car display arrangement, compare the installed unit with the product identification and connection layout of this [3600 car communication and display board](/products/3600-car-communication-elevator-display-board-cop-lift-parts/). Confirm the installed controller and car operating panel configuration as part of that assessment.
Display-related compatibility questions
Before replacing a display board, answer these questions:
- Does the replacement serve the same location: car, main landing or another landing?
- Is it intended for the same display technology and screen format?
- Does it use the same communication connector and pin count?
- Is the supply voltage and polarity identical?
- Does it require configuration, addressing or software setup after installation?
- Is the display fault present only at one position, or across several devices on the same bus?
A dark or intermittent display does not automatically mean the display board has failed. Check incoming supply voltage, plugs, cable strain points, connector corrosion and the controller-side communication connection. For car equipment, inspect the travelling cable and its terminations because movement-related faults can be intermittent.
Read board codes and revision labels
The complete label is more valuable than a shortened code copied into a procurement request. Where possible, photograph the label square-on and in focus before removing the unit. Include both sides if the reverse shows a revision sticker, connector reference or manufacturing code.
A typical electronic-board label may include some combination of:
- Part number or material number
- Article number
- Board name or functional description
- Hardware revision, often marked as
Rev,HW,Indexor a letter-number suffix - Software or firmware reference
- Serial number
- Manufacturing date or batch identifier
- Barcode or data matrix code
- Supply voltage, current rating or fuse value
The part number may be printed in several formats. Preserve punctuation, spaces, leading zeroes and suffixes in your record. A supplier can generally interpret alternate formats, but an incomplete number creates unnecessary ambiguity.
Why revision labels matter
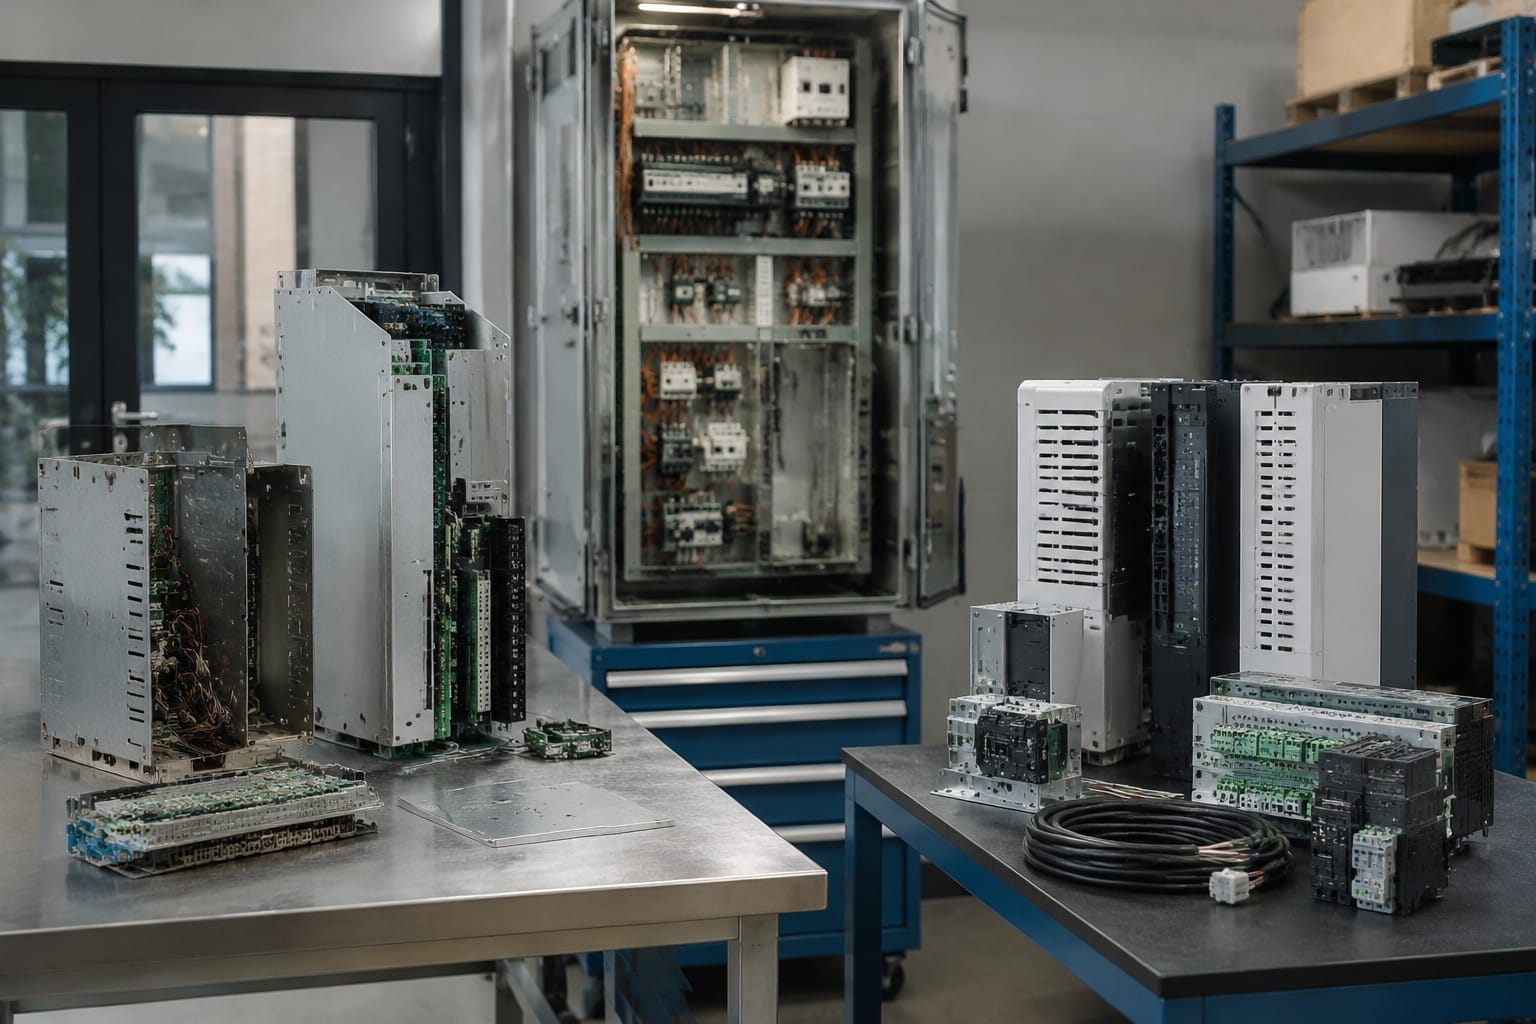
A revision change may be minor, but it can also indicate a changed connector, component population, electrical tolerance or software behaviour. Do not assume that a later revision is automatically a direct replacement for an earlier one.
Ask these questions when the revisions differ:
- Is the later revision formally approved as a replacement for the installed revision?
- Are connectors in the same positions with the same pin functions?
- Does it need a particular controller software version?
- Is any parameter transfer, addressing or programming needed?
- Does it replace the original as a standalone unit, or with an adapter, harness or related board?
If a label has been damaged, record every visible character and provide photographs of the complete board. The dimensions, mounting-hole pattern, connector markings and component-side layout may help narrow the options, but should support rather than replace a confirmed part number.
Compare connectors and electrical ratings
Connector similarity can be misleading. Two plugs can have the same number of ways and still carry different signals or supply arrangements. Compare the fitted board and proposed replacement using the connector reference identifiers, keying, pin count, orientation and associated cable labels.
Never force a connector into a socket. A plug that does not seat naturally may be differently keyed, installed in the wrong orientation, or intended for another circuit. Forcing it risks terminal damage and can create faults that complicate later diagnosis.
Use this comparison before approving a replacement:
| Check | What to compare | Risk if not confirmed |
|---|---|---|
| Connector type | Housing shape, keying, pin count and locking method | The cable may not connect or may be damaged |
| Connector references | Markings such as X1, X2, CAN, BUS, IN or OUT | Similar plugs may have different circuit functions |
| Pin allocation | Wiring diagram, terminal list or approved cross-reference | Incorrect supply or signal connection can damage equipment |
| Supply rating | AC/DC type, voltage range, polarity and current requirements | Board failure, unstable operation or no start-up |
| Communication interface | Bus type, termination requirement and addressing | Loss of display, calls or device communication |
| Mounting | Fixing points, standoffs, enclosure clearance and earthing | Mechanical stress, poor earthing or short circuits |
| Software relationship | Firmware and controller version requirements | Component may fit but fail to communicate correctly |
Electrical safety work must be carried out by competent personnel using the applicable site isolation and verification procedures. An electronic board can retain stored energy after disconnection, and a live control system can be affected by incorrect handling, static discharge or unintended connector movement.
Check the operating environment too
A replacement may be electrically correct yet fail prematurely if the cause of the original defect remains. Check for:
- Moisture, condensation or signs of water ingress.
- Heat damage and inadequate enclosure ventilation.
- Loose mounting hardware or vibration.
- Oxidised terminals and connector pins.
- Cable chafing, especially at moving car connections.
- Evidence of a short circuit or an incorrectly rated protective device.
Photograph any damaged wiring or affected connector alongside the board. This can help distinguish a component replacement from a wiring or environmental rectification requirement.
Handle obsolete or renamed components
Obsolescence does not mean that any similar board is suitable. When an original ThyssenKrupp elevator part has been discontinued, there are generally three possible routes: an approved supersession, a compatible replacement that requires defined changes, or a repair and refurbishment assessment where appropriate.
Treat each route differently.
An approved supersession should have a clear cross-reference from the old part number to the proposed number. Confirm whether the change is direct or whether it requires a new harness, plug arrangement, firmware version or configuration process.
A compatible alternative needs more evidence. Confirm its intended controller family, connector pinout, electrical ratings and operating function. It may be suitable only for a defined equipment variant.
A repaired or refurbished component should be assessed according to the repair scope, the known failure mode, test evidence available from the provider, revision status and the condition of connectors and tracks. It is not interchangeable with a new part in every procurement policy or project specification.
Avoid these obsolete-part mistakes
- Ordering from a partial number without the revision suffix.
- Treating a board with a similar layout as an exact replacement.
- Reusing a damaged plug or overheated connector with a replacement board.
- Replacing the board before testing supply, fuses and continuity.
- Ignoring configuration, node addressing or commissioning requirements.
- Ordering an entire assembly when the actual issue is a display, cable or connector.
- Assuming an old stock item is usable without checking its storage condition and version.
Where records conflict, the physical label and verified wiring details should normally take priority over a generic lift description. Maintenance records are useful context, but they can include historical part changes that do not reflect the equipment currently installed.
Supplier documentation to request
A precise enquiry gets a more reliable compatibility assessment and reduces repeated site visits. Include the evidence needed to identify the part, but avoid sending only a general description such as “Thyssen board” or “lift display PCB”.
Request or provide the following documentation:
- Clear photographs of the label, component side, connector side and installed position.
- Full existing part number and revision.
- Controller and lift configuration details.
- Photos of the mating connectors and cable identifiers.
- Fault description, including when it occurs and any controller indication.
- Wiring diagram, terminal schedule or relevant manual page where available.
- Details of previous upgrades, substituted boards or panel alterations.
- Proposed replacement part number and its compatibility or supersession statement.
- Installation, configuration or commissioning instructions where required.
- Confirmation of what is included: board only, display assembly, harness, fixings or other accessories.
For B2B purchasing, also clarify commercial and logistical details that affect the job but vary by supplier: stock status at the time of order, condition classification, lead time, return conditions, packaging, customs documentation and whether technical support is included. These terms should be confirmed for the actual quoted item rather than assumed from a generic catalogue entry.
Kelevator supplies multi-brand elevator spare parts to B2B importers, distributors, maintenance contractors, modernisation companies and OEM buyers. For a technical replacement request, the most useful starting point is the complete identification pack above, particularly the board label and connector photographs.
Replacement verification checklist
Use this checklist before ordering and again before energising the lift after installation.
Before ordering
- [ ] The lift controller family is identified.
- [ ] The failed component’s full part number is recorded.
- [ ] Hardware and software revision details have been captured.
- [ ] Front, rear and label photographs are available.
- [ ] Connector keying, pin count and reference markings are compared.
- [ ] Supply type, voltage, polarity and current requirements are checked.
- [ ] The board’s location and function are confirmed.
- [ ] A wiring, cable or power issue has not been mistaken for a board failure.
- [ ] Any supersession is documented as direct or conditional.
- [ ] Required configuration, software or accessories are identified.
During installation and commissioning
- [ ] The system is isolated and made safe by competent personnel.
- [ ] The original board and replacement are compared one final time.
- [ ] Connectors are seated in their intended positions without force.
- [ ] Earthing, shielding and cable routing are restored as found or as specified.
- [ ] Required addressing, parameters or firmware steps are completed.
- [ ] The relevant display, buttons, indicators and communication functions are tested.
- [ ] The fault history is checked after operation is restored.
- [ ] The new part number, revision and installation date are added to maintenance records.
A replacement should be accepted only after the functions affected by that component have been checked in the actual lift configuration. A car communication board, for example, may need testing of the display, car calls, indicators and controller communication rather than only confirming that the screen powers up.
Frequently asked questions
Are ThyssenKrupp and TKE elevator parts the same?
They can refer to equipment within the same broader product lineage, but the names do not prove component interchangeability. Match the installed part number, revision, controller family, connectors and electrical requirements.
Can I replace a ThyssenKrupp board with the same-looking board?
Not safely on appearance alone. Board dimensions and connector locations are insufficient evidence because pin functions, firmware and bus communication can differ. Verify the full label and technical compatibility.
Is the controller serial number enough to identify a spare part?
It is helpful but usually not enough. Provide the controller information together with the failed component’s complete label, revision, photographs and installation location.
What should be included in a TKE replacement request?
Include the full board code and revision, photographs of both sides and connectors, controller details, wiring information where available, the reported fault and details of prior modifications. This allows the supplier to assess exact replacement, supersession or required additional parts.
For a replacement enquiry, prepare the checklist information first and request confirmation against the exact installed code. That approach gives sourcing teams and maintenance contractors a defensible basis for selecting ThyssenKrupp elevator parts rather than relying on appearance or partial descriptions.